Here’s the deal: you have an Office 365 tenant where all your corporate accounts are stored. Possibly you even have DirSync or ADFS set up and your on-premises AD accounts are synced to Office 365. Now that’s great and all, but then you also start to use Azure, and guess what, it asks for… a Microsoft account. That means a separate user name and password for each and every user that’s allowed to manage your Azure services.
And that is atrocious. It took us quite a while to figure out, but now I’m happy to say: you can’t get rid of Microsoft accounts altogether because you need at least one to control the Azure subscription, but you most definitely CAN log into Azure with corporate Office 365 accounts. Here’s how.
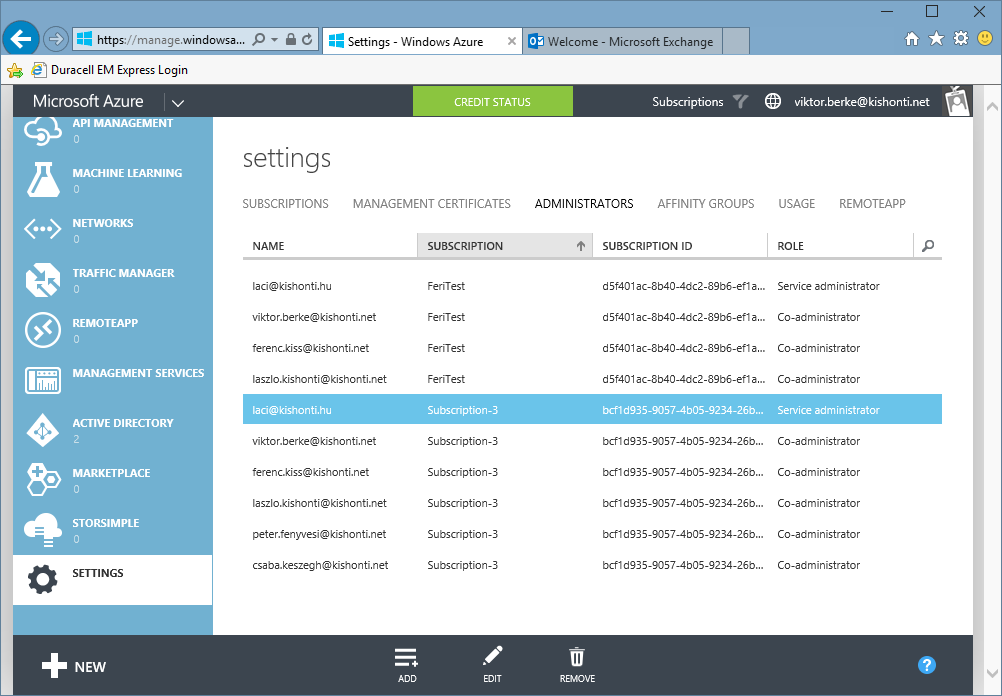
The most important thing is that all this stuff needs to be done with the service administrator account. There’s exactly one service administrator account for each and every Azure subscription. It can add so called co-administrators to the subscriptions, but those will not be able to change the required settings. So as a first step, find your service admin under Settings / Administrators.
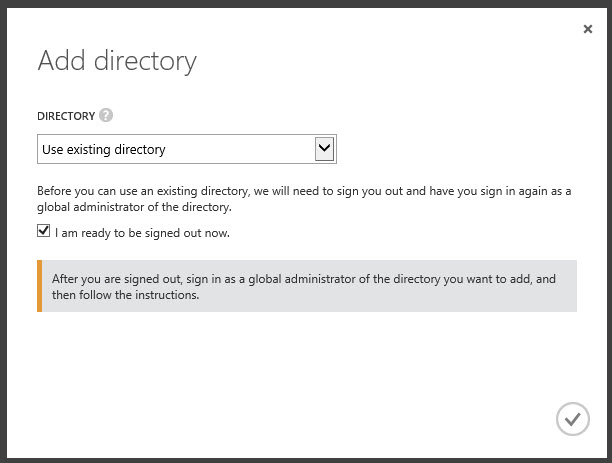
Then log in with that account in a new private window (so that sessions surely don’t conflict). Go to Active Directory and add a new one. Select Use existing directory. Then it will ask you to log out.
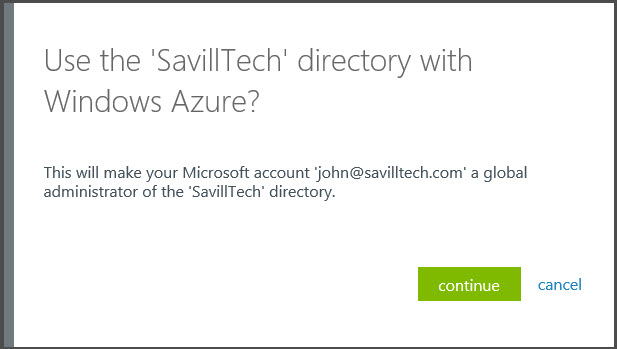
Then log back in with your corporate (Office 365) account but make sure that this account is set to be a Global Administrator in the Office 365 tenant. Then it will ask you if you really want to add the Office 365 directory.
Once done, you’ll sign out again, and this time sign back in with your Azure service admin account (i.e. the Microsoft account). Now you should see a new entry under Active Directory.
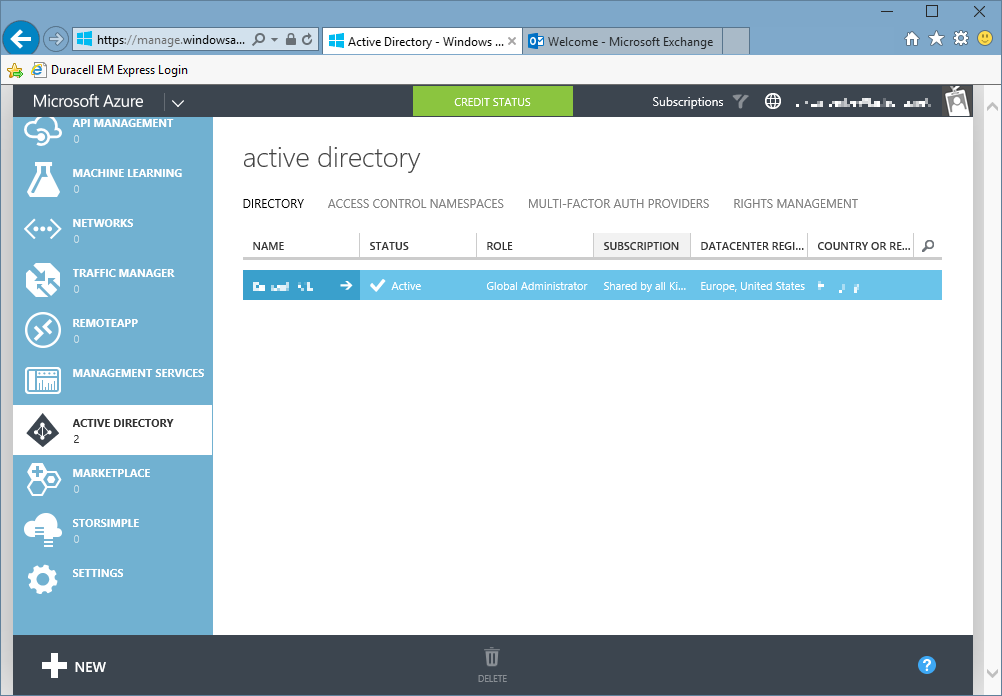
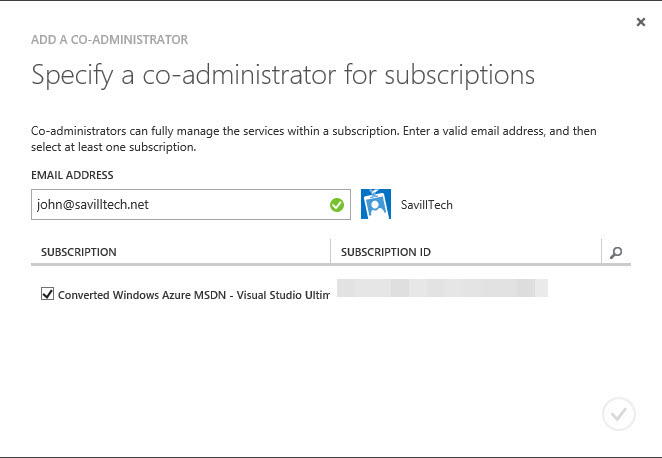
If you click the little arrow and check it out, you should see all your Office 365 users, your domains, etc. Now if you try to add an Azure co-admin from this directory, it still won’t work. Instead, you get this nice little message:
The co-administrator must be either a Microsoft Account or a user account homed in the Default directory
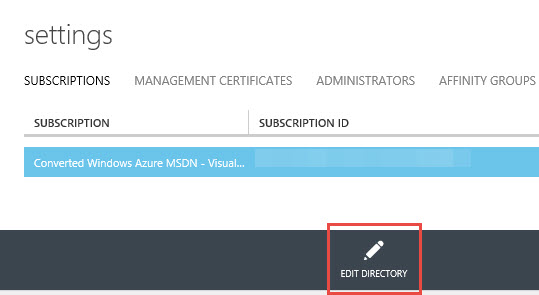
What’s that about? It’s explained by Microsoft: you can only add co-admins from the default directory. So how do you change that? Go to Settings / Subscriptions, select the appropriate subscription and click Edit Directory.
WARNING: it is strongly recommended to do this on a test subscription first. If it’s tested and works, repeat with your real subscriptions.
Then select your newly added Active Directory under Directory:

If it doesn’t show up yet, just wait a few minutes. When you change this, it’ll warn you that it will remove all the already added co-admins from the subscription, but that’s no big deal, you’ll still have the service admin so just take note of them and re-add them later using their Office 365 accounts. Once you accept the changes, the Azure portal will reload itself. If you have multiple subscriptions, you may have to switch to the proper one from the Subscriptions menu on the top, i.e. switch from the *.onmicrosoft.com domain to your own domain. At this point, you should be able to add Office 365 users as co-admins.
If you still get an error message stating that you can only add accounts from the same directory as yours (which is quite impossible since you are using a Microsoft account and the default directory is changed to the corporate Office 365 one, and also, all the co-admins are removed), just wait a few more minutes and eventually it should accept the Office 365 email addresses as well.
If you read between the lines, you’ve already figured it out, but just to make it clear: you need to add the Active Directory entry once, but you need to change the default directory for each subscription, one by one. That’s all.