ICMPv6 is pretty crucial for IPv6 to work correctly. Unfortunately, to this day, Windows 10 still blocks those packets by default. Here’s how to let them through.
Open Start / Run, then run:
wf.mscThis opens the Microsoft Management Console with the Windows Defender Firewall with Advanced Security snap-in.
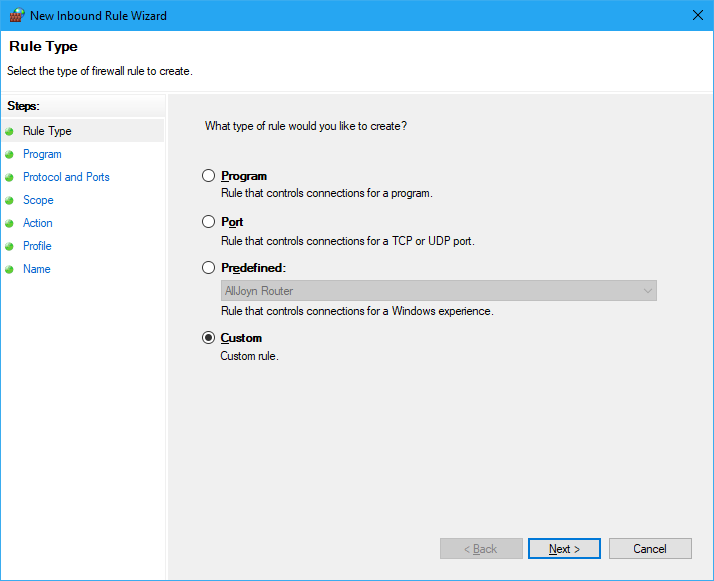
Here select Inbound Rules and click New Rule…. On the Rule Type page, select Custom.
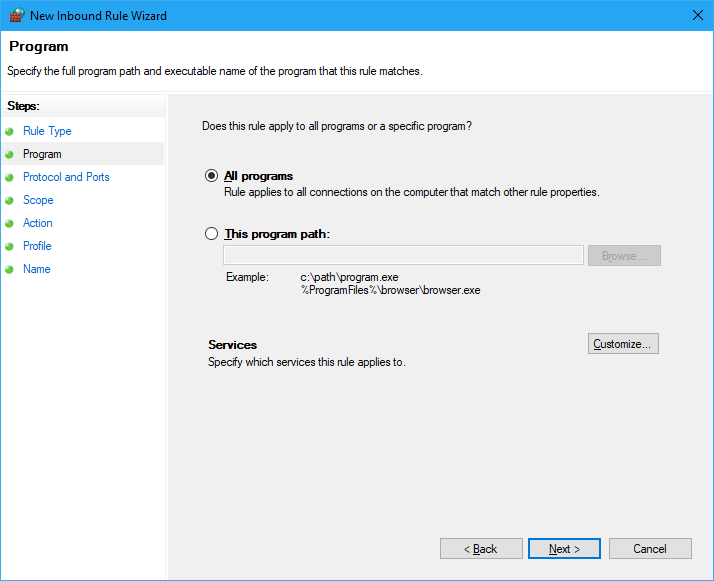
Select All programs.
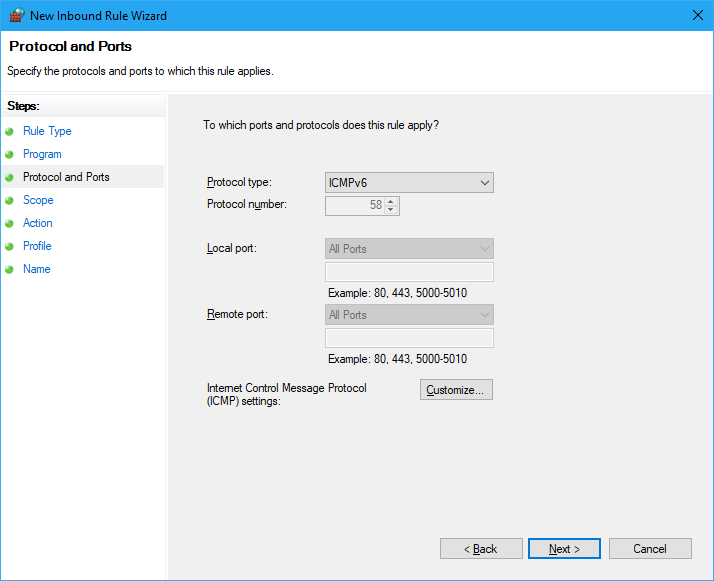
Change Protocol type to ICMPv6.
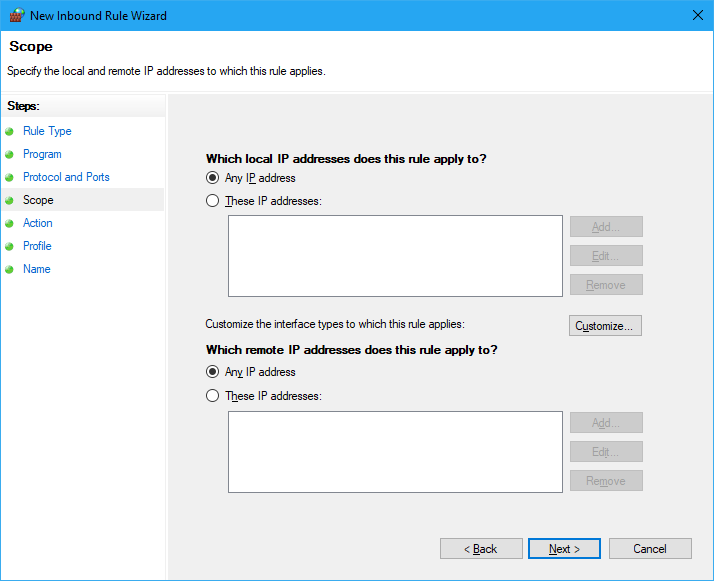
Leave the IP addresses as they are.
Leave action as it is, Allow the connection.

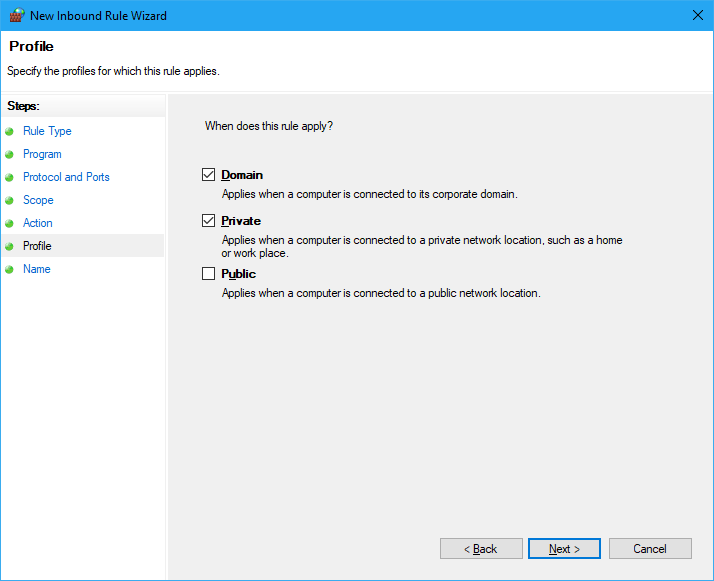
Select the profiles as desired, Domain and Private should be a sane choice for most.
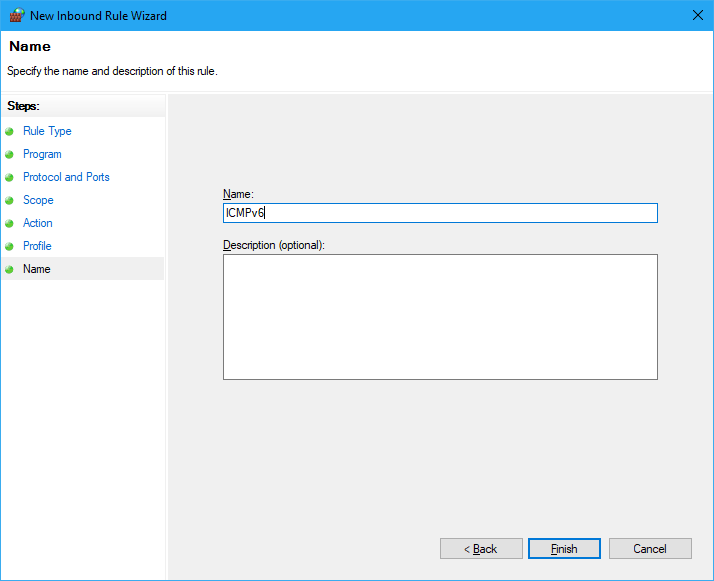
Enter a name, such as the very creative ICMPv6.
That’s it, cheers 🙂
Pingback: Win10 allow incoming ICMPv6 - firewall is behaving weirdly - Boot Panic
I see that you put this up in 2018. I have been trying to get my Windows network/Netgear cable modem/2 x Netgear routers to kick over into IPV6 for several days, and this article got me across the line. Windows 10, block ICMPv6, the new Inbound Rule stopped blocking, and now the test out there on the internet finds my internet IPv6 address! Thank you!
Glad to hear! 🙂