Table of Contents
BIG FAT WARNING
This tutorial is deprecated. Please use the revised guide. This one is only here for historical reference.
Prelude
This article will guide you through setting up a proper KF2 server on Linux (CentOS) step-by-step. What we’re going to do here is:
- fire up a CentOS server with firewall, Security-Enhanced Linux and hardened management access
- install
steamcmdon the CentOS server - install the KF2 server using
steamcmd - configure KF2 options via very small config files instead of the enormous stock ones (almost 2 thousand lines)
- using these, regenerate the server’s actual config files automatically
- subscribe to Steam Workshop maps
- automatically generate separate map cycles for stock and workshop maps
- apply any manually specified, custom map cycles as well
Custom maps are particularly problematic, and in the previous revision of this guide I ranted about these issues in great length, so I’m not gonna do that again. I also used to guide you through Nginx, SSL, domain names etc. But I realized that’s way beyond what most KF2 server admins will ever want to do, so I stripped those out, too. Finally, I extended my installer script with lots of great new stuff, so setting up a KF2 server became even easier, and I wanted a write-up to reflect those changes.
So, without further ado, let’s do this!
Vultr
I’ll use the terms VPS (=virtual private server), VM (=virtual machine) and server interchangeably here. It’s all the same. Also, CentOS is just a flavor (distribution) of Linux. It is a free variant of Red Hat Enterprise Linux, one of the most trusted Linux vendors out there.
To get your Linux server up and running, you need to complete the Vultr CentOS tutorial, then you can move on to the next step.
The $5 Vultr instance should be more than enough for a server with up to 100 custom maps.
Killing Floor 2
Installation
There’s a whole lot of components needing installation and/or configuration for the KF2 server to work properly, but I thought I’d save you some (okay, a lot of) time by creating a script that does all that for ya.
For the curious, let me summarize what it does:
- creates a new dedicated
steamuser to deal with anything Steam-related, because it’s stupid to run things as administrator - obtains
steamcmd, Valve’s official command-line tool for managing Steam-related content - installs the KF2 server itself
- creates a systemd unit to conveniently control the KF2 server via system tools
- sets up access delegation so that you can actually control these things with the
steamuser - allows the necessary ports to pass the firewall
- deploys a helper command to make management very simple and easy
- deploys initial configuration which you can build upon very quickly
- installs kf2_autokick, which had to be done separately in the past
Now, to perform all this, log in to your Vultr server with your normal user (i.e. not root). Obtain a copy of the installer I created, then execute it with admin privileges:
git clone https://github.com/bviktor/kf2-centos.git
cd kf2-centos
sudo ./install.sh
The vanilla Killing Floor 2 server is around 17 GB in size so sit back and relax until it finishes, then proceed. If everything went well, switch to the steam user:
sudo -iu steamAll KF2 server commands are wrapped in by kf2.sh, a script I created. You can query the list of available options by:
kf2.sh helpNow generate the initial, default config files, before anything else:
kf2.sh initConfiguration
You have 2 sets of config files:
- ~/Config: Your own config files, you need to edit these.
- ~/Config/Internal: The server’s files generated from the defaults combined with your own config files. You should not touch these.
| File | Description |
|---|---|
My-Cycles.csv | Map cycles |
My-KFWeb.ini | Webadmin |
My-KFWebAdmin.ini | Webadmin |
My-LinuxServer-KFEngine.ini | Starting map, takeover, redirect server URL (unused) |
My-LinuxServer-KFGame.ini | Admin password and game related (difficulty, length, etc.) |
My-Maps.csv | Workshop maps |
autokick.json | Auto-Kick Bot |
After you make an edit on these files, you stop the server (kf2.sh stop), regenerate the server config (kf2.sh config), then start the server (kf2.sh start), and you’re ready to go. Same thing applies when you install an update for KF2.
Important notes:
- Make sure that after the initial installation you always perform everything Steam and KF2-related as the
steamuser, at all times. If you’re unsure, run thewhoamicommand. - You can edit the config files while the server is running, but you need to stop the server before regenerating. If you don’t stop the server, your changes may fully or partially be overwritten.
- Make sure you update KF2 regularly.
Web Access
For security reasons, the installer script doesn’t enable webadmin or let it through the firewall right away, you have to do those manually, whenever you decide so.
You need to perform this step as your regular user, so exit from the steam user session with exit. For webadmin access, you have to open port 8080, where KF2’s webadmin is listening:
sudo firewall-cmd --add-port=8080/tcp --permanent
sudo firewall-cmd --reload
Now switch back to the steam user with sudo -iu steam, and make the following changes:
- My-KFWeb.ini:
bEnabled=true - My-LinuxServer-KFGame.ini:
AdminPassword=your very long generated password here
After these set, stop the server, regenerate the config, then start the KF2 server again:
kf2.sh stop
kf2.sh config
kf2.sh start
You’ll use webadmin to change the gaming session, like selecting the current map, or switching the current map cycle, or the game length, etc.
If you read carefully, you already know this, but permanent settings (e.g. ServerName) should not be changed via webadmin, because they’ll be overwritten the next time you run kf2.sh config. So make sure you don’t change permanent settings here, but via the config files under ~/Config.
Now navigate your web browser to your server’s IP on port 8080. E.g. if the server’s IP is 99.99.99.99, the URL will be http://99.99.99.99:8080. Enter the username (admin) and the admin password you just set.
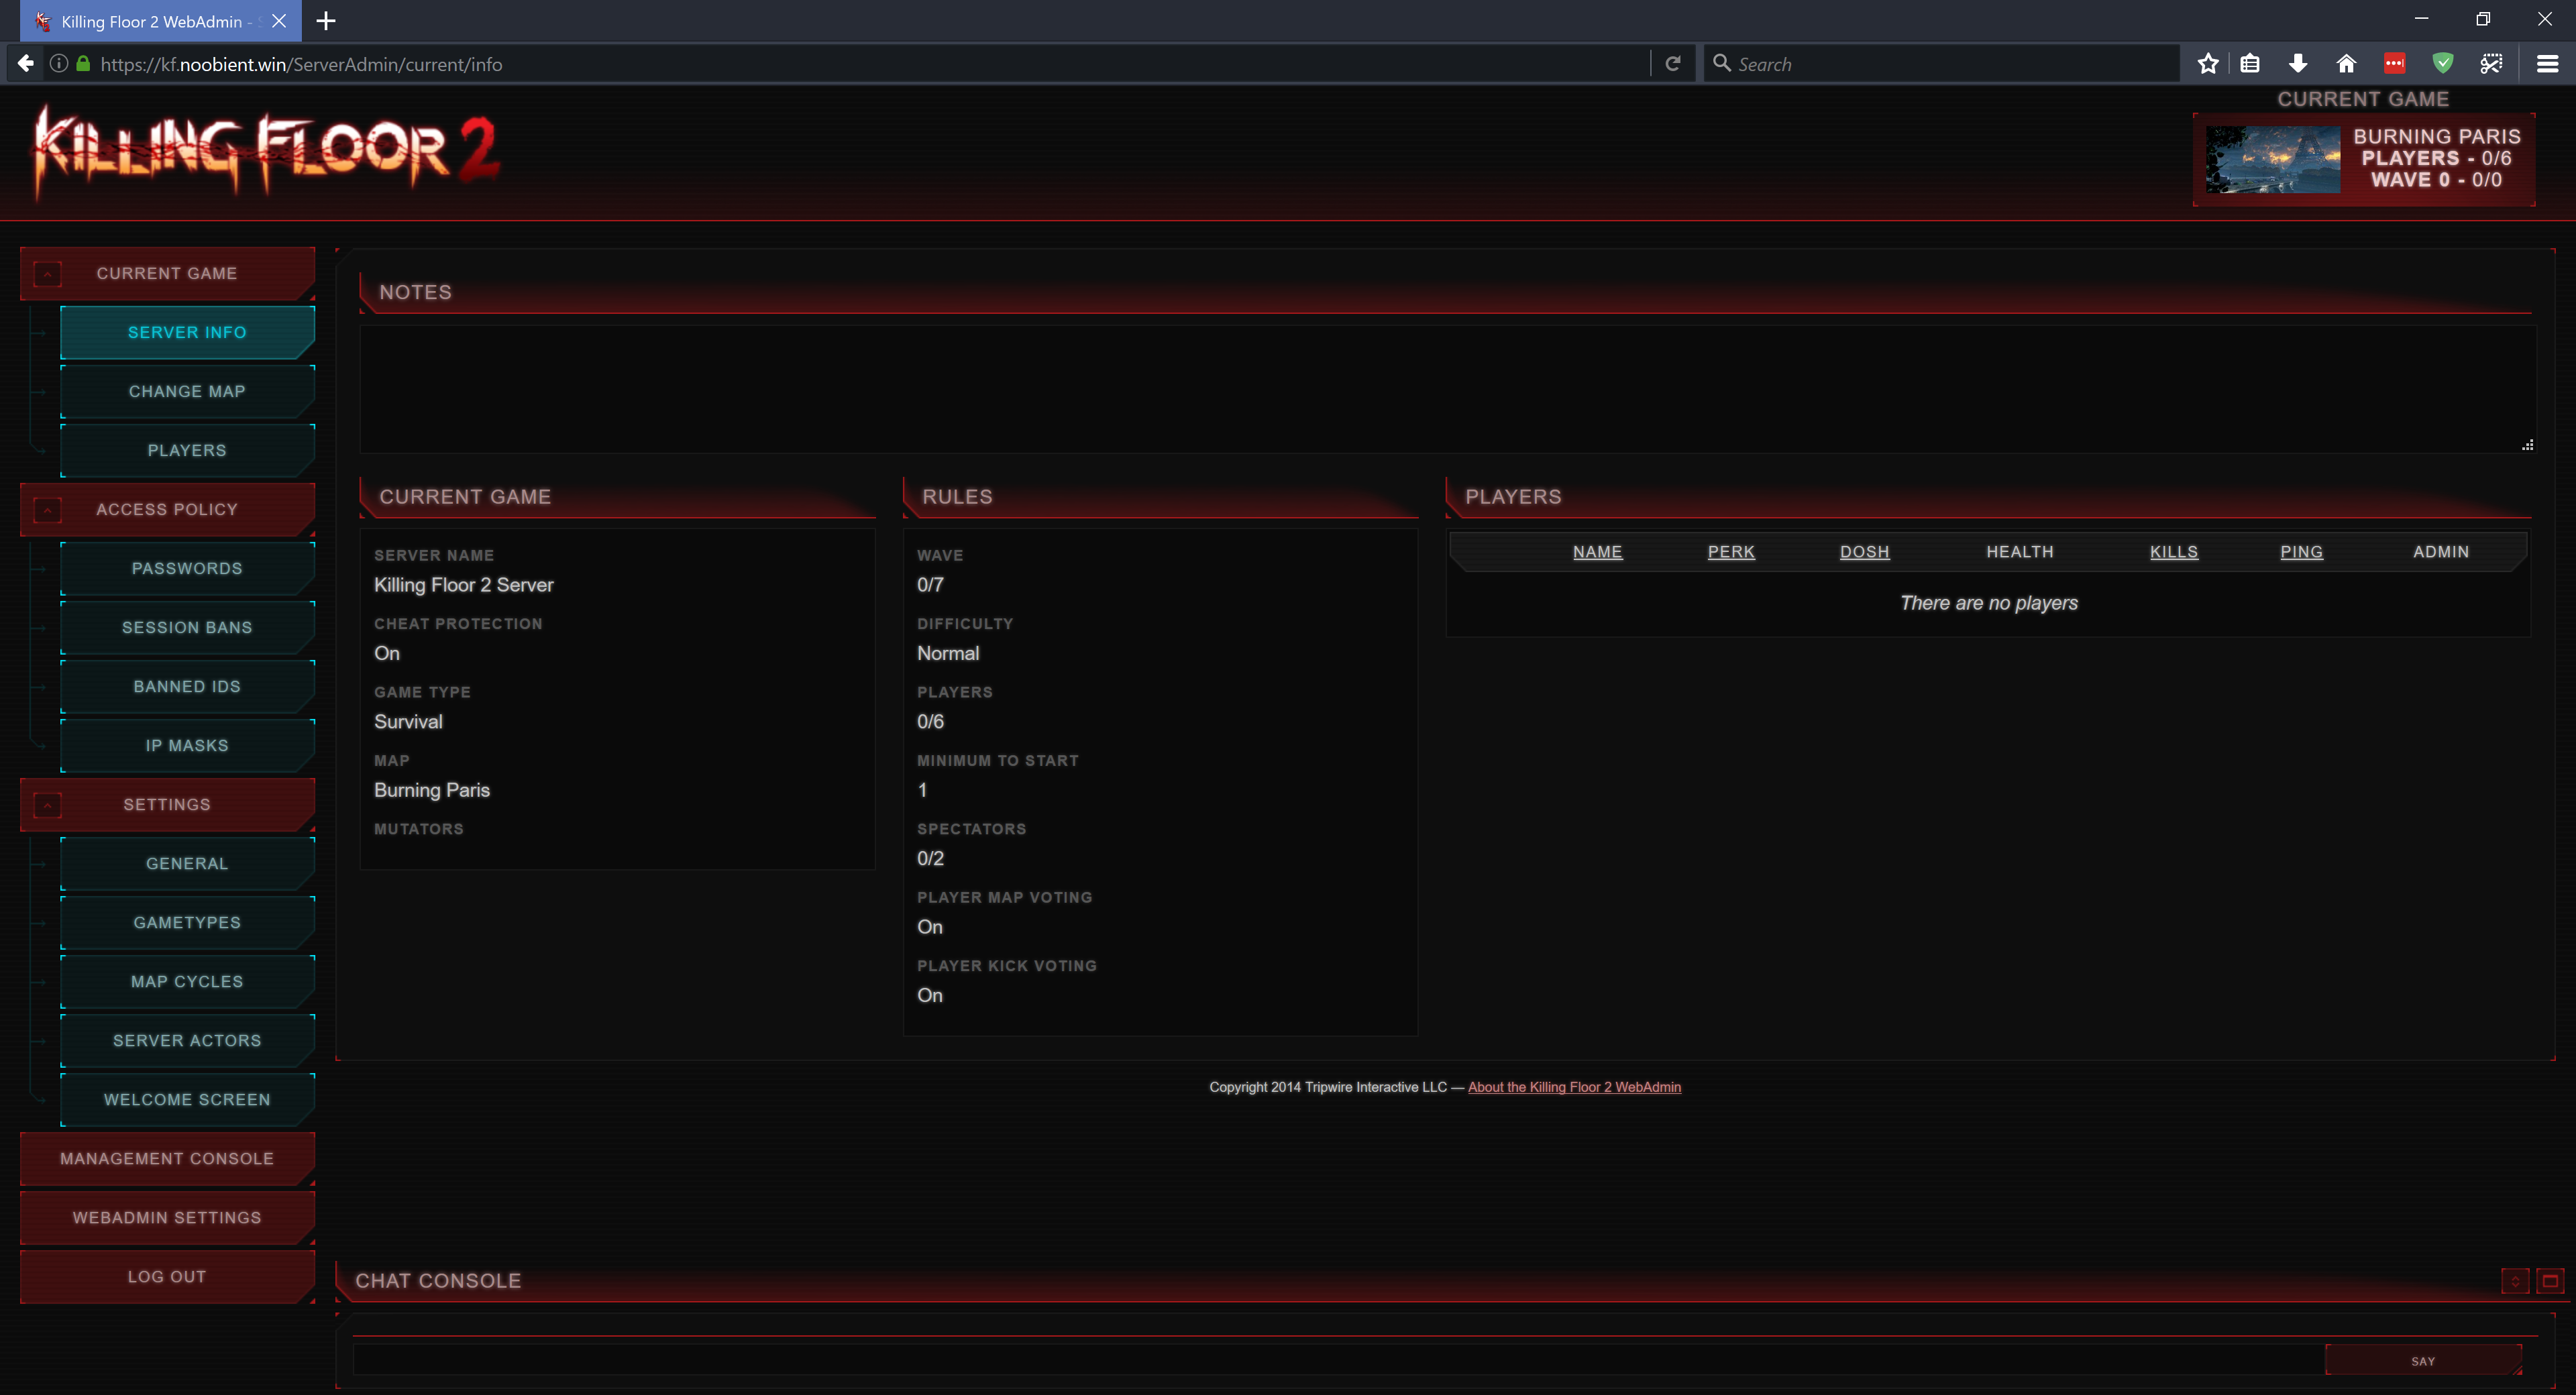
Pretty cool! A few notes:
- The webadmin restarts occasionally, particularly during map changes, be it initiated by the admin or by finishing a match. During this period, you may get timeouts, but it should come back live within a minute or so.
- In the rare event of a webadmin crash, it won’t come back live. In this case, you can still play games on the server though. You decide if you wait until the next match for webadmin to restart on its own, or you can restart the KF2 server altogether manually with
kf2.sh restart.
Now let’s walk you through the most important options:
- Current game / Change map: use this to switch between maps. Make sure to click on the Change game button on the bottom! As mentioned earlier, this triggers a web admin restart, so be patient.
- Access Policy / Passwords / Game password: here you can set a game password so that you can play privately with your teammates.
- Settings / General / Game: change Game difficulty and Game length here. Note: after changing these, you also need to perform a Change map action for these to take effect.
- Settings / Map cycles: select the active map cycle here (Make active button). Don’t edit map cycles here, use
My-Cycles.csvfor that.
Connecting
Now you may wonder, how the hell will I play on this server? For guidance, please refer to: Playing on the Noobient Killing Floor 2 Servers. Substitute the noobient.com addresses with your IP, and you’re all set.
Workshop Maps
We’ll use KF-Minecraft_Defense_Day as an example. You need 2 things:
- ID
- Name
The ID can be found in the Workshop page URL, after the ?id= part. In this example, it’s 1098009749.
The name is a bit tricky, because often it’s the same as on the Workshop page. But sometimes it isn’t. The easiest way to find it out is by subscribing to the map, then checking out the downloaded file’s name. You can find them under %ProgramFiles(x86)\%Steam\steamapps\workshopcontent\232090. In this case, if you go to %ProgramFiles(x86)\%Steam\steamapps\workshopcontent\232090\1098009749\BrewedPC, you’ll see the filename: KF-Minecraft_Defense_Day_Fixed.kfm. So the actual name you need is KF-Minecraft_Defense_Day_Fixed.
Now all you need to do is add the following line to ~/Config/My-Maps.csv:
1098009749,KF-Minecraft_Defense_Day_FixedThen stop, regenerate the config, and start. The server will soon start to download the maps you added (you can observe it with kf2.sh log), so it’s going to take a few minutes if you added several big maps. Once all downloads finish, the server restarts automatically once more, then you’re ready to go.
Once started up, open webadmin and open the Change game menu, select KF-Minecraft_Defense_Day, then click the Change game button on the bottom. This actually restarts the webadmin, but after a minute or so the KF2 server should be running on your shiny new map. When players who don’t have the map connect, they should see a screen similar to this:

Then you’re ready to play!
Auto-Kick Bot
You can control the auto-kick bot with autokick.sh. The usual commands are there, like start, stop, restart, status and log. The configuration file is located at ~/Config/autokick.json. For an explanation of the configuration options, please refer to the official documentation.
Updates
Updating the KF2 server should be as simple as:
kf2.sh stop
kf2.sh update
kf2.sh init
kf2.sh config
kf2.sh start
If you want to update to a preview update, replace kf2.sh update with:
kf2.sh update previewWhere preview is the branch name. It may change, but AFAIK it’s been always preview in the past.
Troubleshooting
Client
In case something gets messed up, like most players can download and play the map but one just can’t, instruct the problematic player to close the game and delete the %HOMEPATH%\Documents\My Games\KillingFloor2\KFGame\Cache folder to make KF2 download the map again.
They can also try to subscribe manually, or if already subscribed, unsubscribe, delete the map file under %ProgramFiles(x86)%\Steam\steamapps\workshopcontent\232090\<map id>, then retry.
Server
If you have a broken map, you can try to nuke it. In the case of KF-Minecraft_Defense_Day:
kf2.sh purge 1098009749Now you can try to add it back to ~/Config/My-Maps.csv, re-apply with kf2.sh config, restart the server, and see if it helps.
Conclusion
Whew, that was quite a mouthful. After all this, you should have:
- a dedicated Killing Floor 2 server running on CentOS Linux
- automatic OS updates
- firewall
- Security-Enhanced Linux
- key-based SSH authentication on a non-default port with root login disabled
- your KF2 server running as a restricted user
- easily accessible commands to control the KF2 service
All that with a few hours of work. Isn’t that just sweet? Have fun, guys, hope to see you online!