Table of Contents
Preamble
After doing this for Linode, it’s time to also do Vultr. If you follow me, you already know that Vultr is one of my 3 favorite VPS providers. The great thing about Vultr is that it also allows for custom ISOs, so you can have fancy things like a Btrfs root filesystem, which in turn allows you to use way more disk space than the physical 25GB thanks to transparent compression. Yes, you can move just your /home to Btrfs, but if you apply compression the whole system altogether, you win another 3 or 4 gigs, which is pretty darn neat, that’s like 15% extra storage for free!
Preparation
If you haven’t done so yet, complete the tasks outlined in Using SSH Key Pairs on Windows
Since we’ll be using our own ISO, obtain the URL for the CentOS Minimal ISO first.
Then sign up to Vultr. If you find this tutorial helpful, please use my affiliate link, thank you 🙂

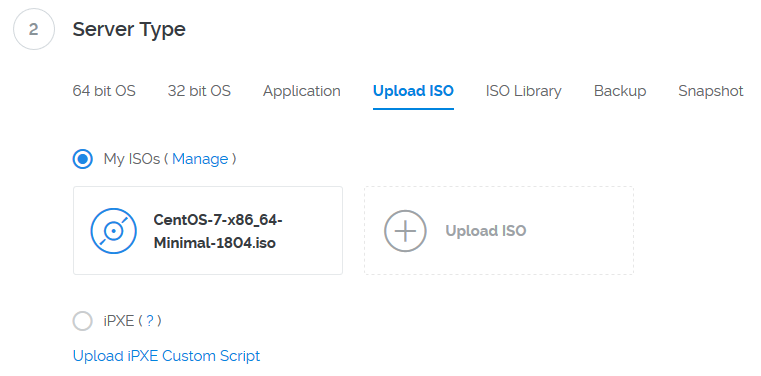
Once done, log in, and go to Servers / ISO. Click Add ISO, paste the ISO URL, click Upload, and wait until Vultr acquires the bits.
Note: yes, you could also use Vultr’s own “CentOS” ISO from their own library, but if you use your own vanilla ISO from an official mirror, you can be sure that
- It’s the latest release
- It hasn’t been modified by the VPS provider in any way
- You actually do all the configuration steps during setup yourself, without any kind of “unattended” pre-configuration “for your convenience”.
Once Vultr finished downloading the ISO to their system, go to Servers / Deploy New Instance. Select the Server Location as needed, then select the ISO you just uploaded:
Select the Server Size as needed. Check Enable IPv6, it’s free. Specify Hostname and Label as needed. Then click Deploy Now.
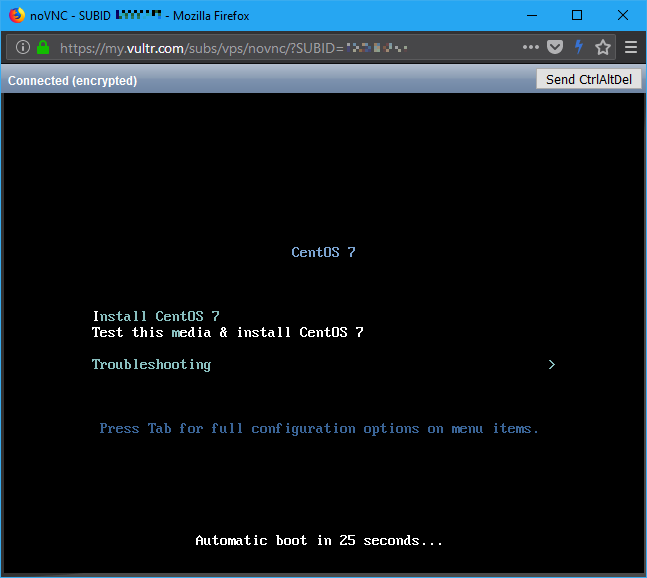
Once the deploy completes, proceed to Manage on your server, then View Console and start the OS installation.
Installation
By default, CentOS checks the installation media first, which is a good idea in any case, it won’t take long, I promise.
On the first page, select your language preferences.

Without networking, there’s no network time sync, no network installation, no nothing, so enter Network & Host Name first.
Specify your host name, then click Apply. Then select Configure… to set up your network addresses.
Select the IPv4 tab. For Method, select Automatic (DHCP) addresses only. Under DNS servers, enter the following:
9.9.9.9,1.1.1.1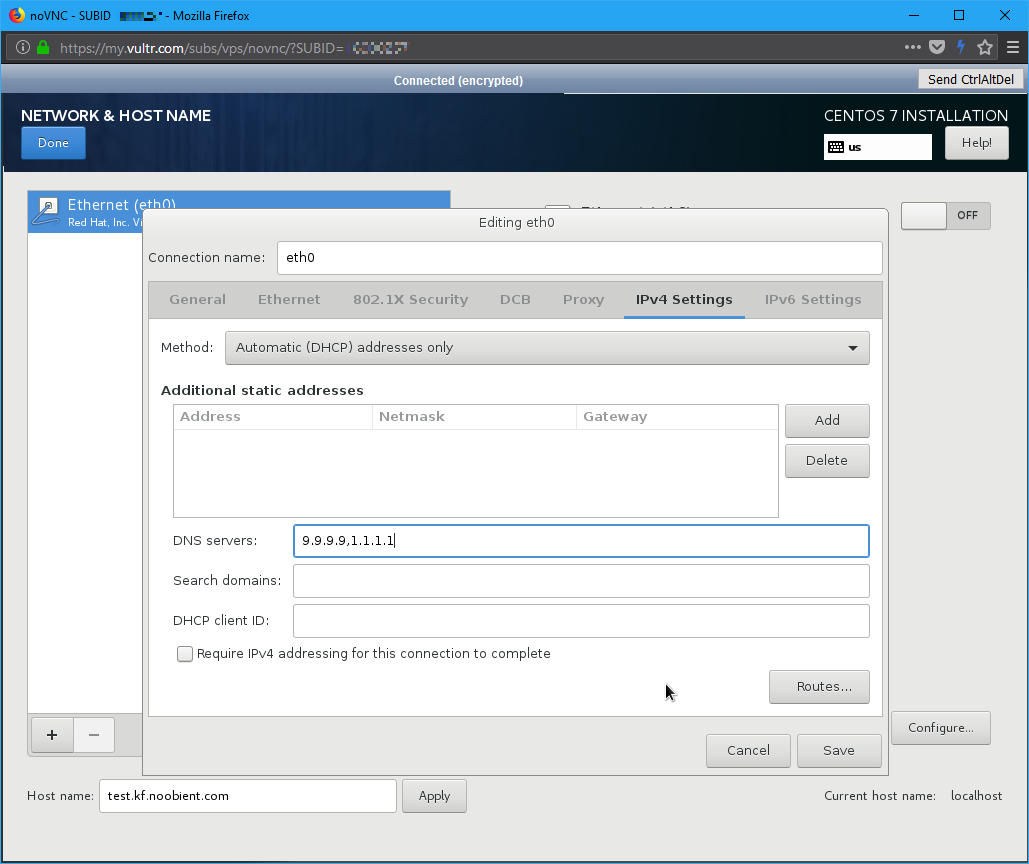
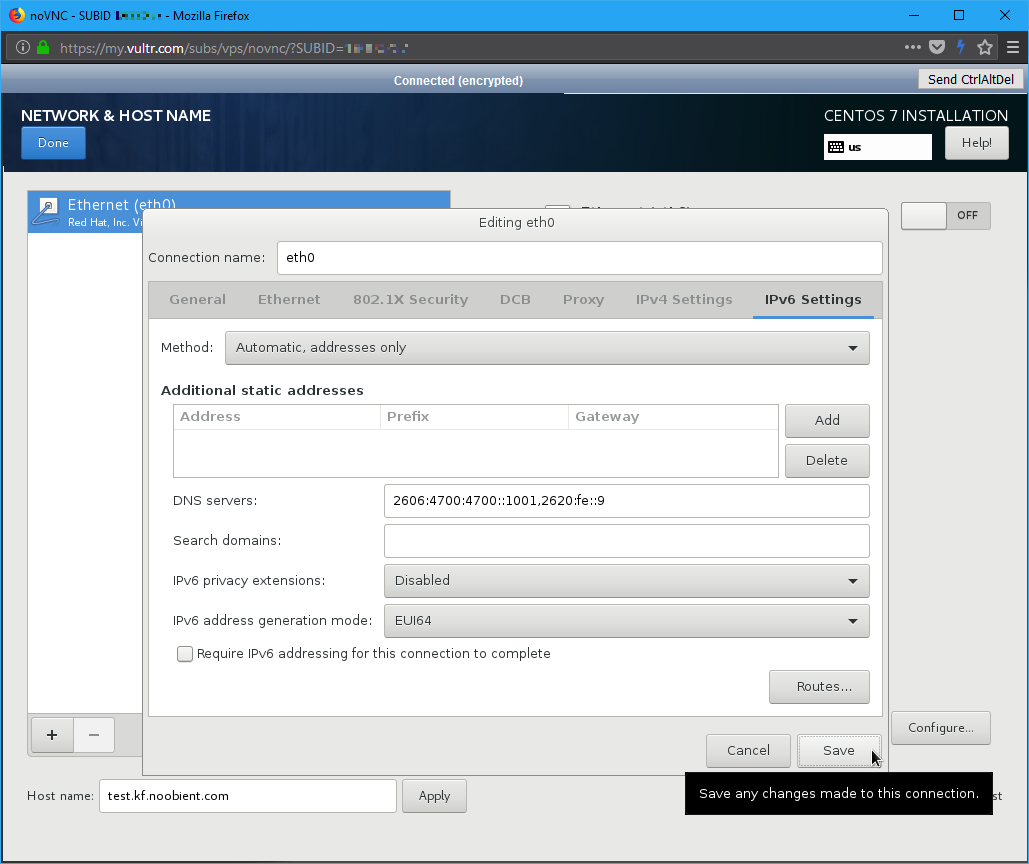
Switch to the IPv6 tab. Select Automatic, addresses only for Method. In the DNS servers field, enter:
2606:4700:4700::1001,2620:fe::9Which are the IPv6-equivalent addresses of 1.1.1.1 and Quad9.
For IPv6 address generation mode select EUI64. Then click Save.
Now you’re back in the networking menu, and it’s time to enable the network interface. Click on the toggle, currently in the Off position. After a few seconds the instance should acquire both IPv4 and IPv6 addresses, and also they should match the addresses shown on the Vultr management site. If everything’s fine, click Done.

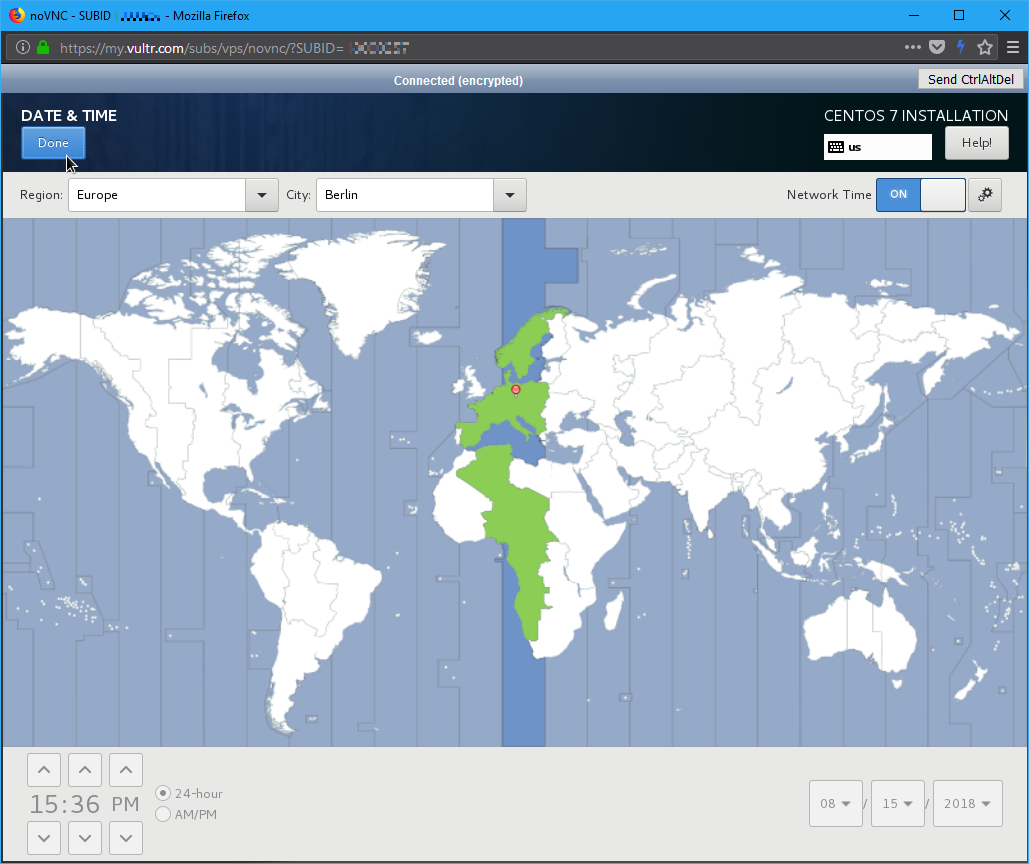
Now time to fix up your clock. Select Date & Time, select the appropriate city, then click Done.
Time to configure the Installation Source. Select On the network, and specify the URL for an appealing mirror from the CentOS Mirror List. You need to append the URL with the 7/os/x86_64/ string, e.g.:
http://mirrors.coreix.net/centos/7/os/x86_64/Then click Done.

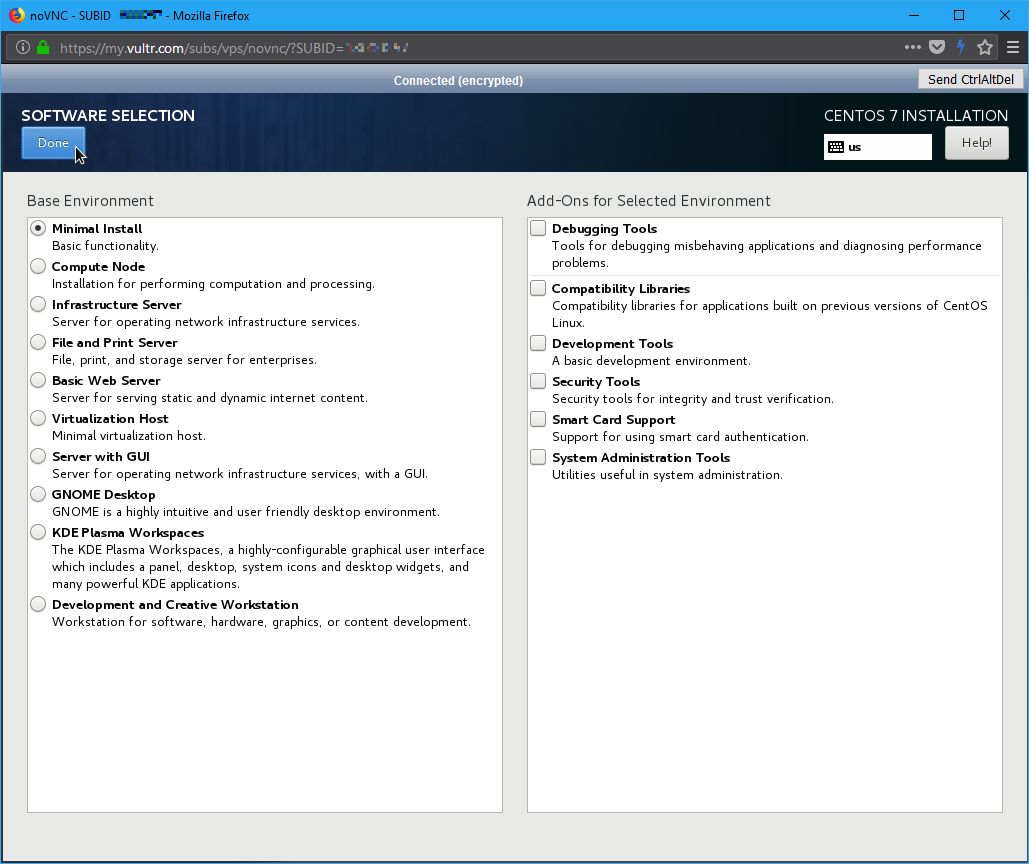
Now the Software Selection section says
Source changed – please verify
All you have to do is literally just click it, verify that it’s on Minimal Install, then click Done to exit it.
Time for partitioning! Click Installation Destination to enter. Change partitioning to I will configure partitioning, then click Done.
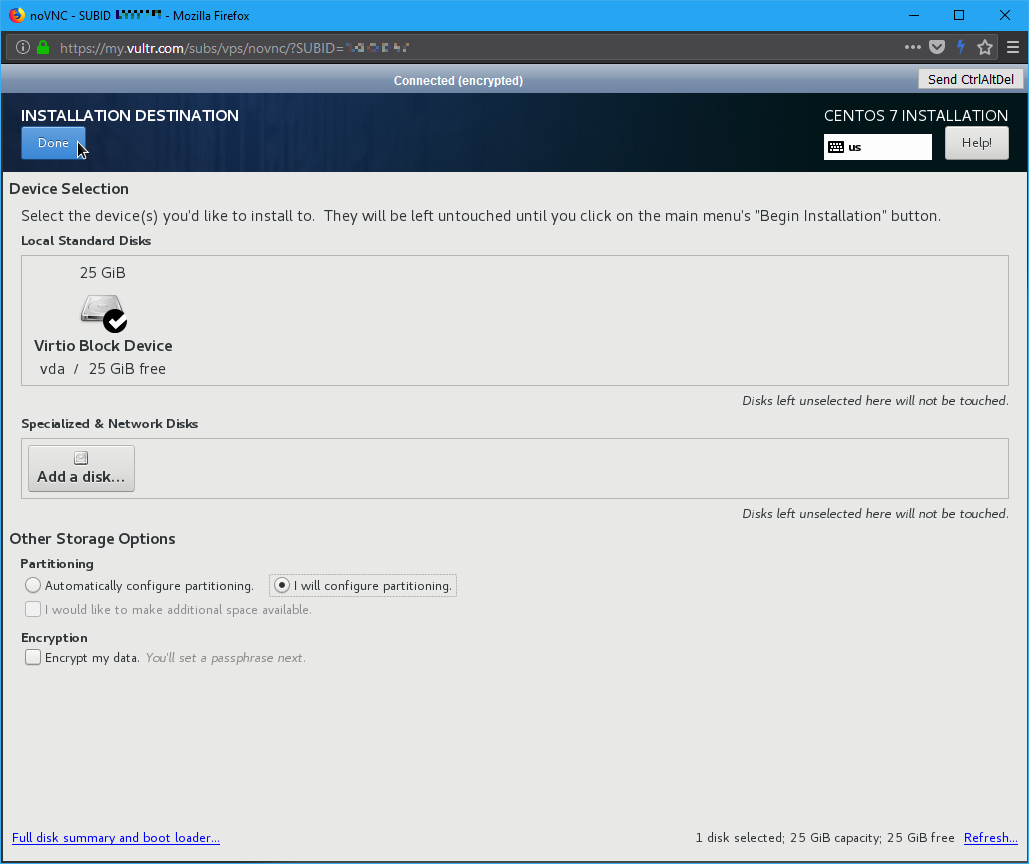
Now switch partitioning scheme from the default LVM to Btrfs, and click the + sign.
You’ll have to create 4 partitions this way, in the following order (don’t forget to press Update Settings during setting up each partition):
| Mount Point | Desired Capacity | Device Type | File System |
|---|---|---|---|
| /boot | 500m | Standard Partition | ext4 |
| /boot/efi | 200m | Standard Partition | EFI System Partition |
| swap | 512m | Standard Partition | swap |
| / | (enter nothing to use all remaining) | Btrfs | btrfs |
After creating all these partition, the scheme should look like this:
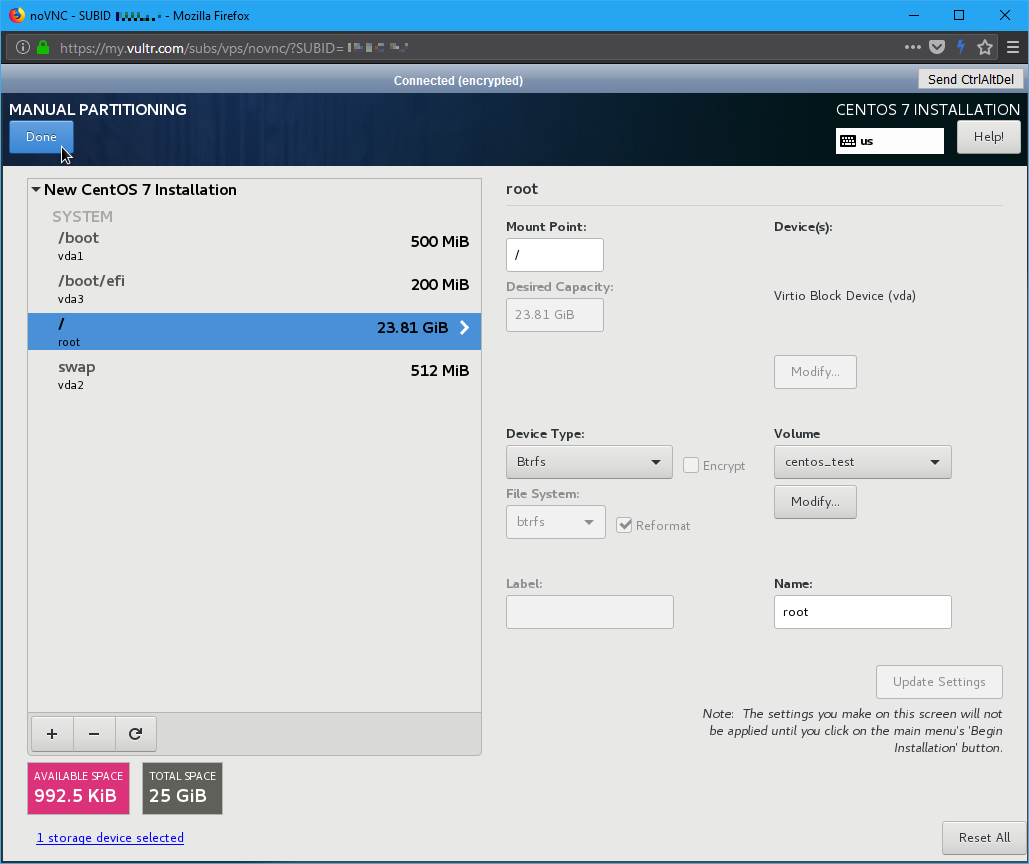
Click Done, then Accept Changes. Back in the main menu, everything should be clear, without warnings. If so, click Begin Installation.
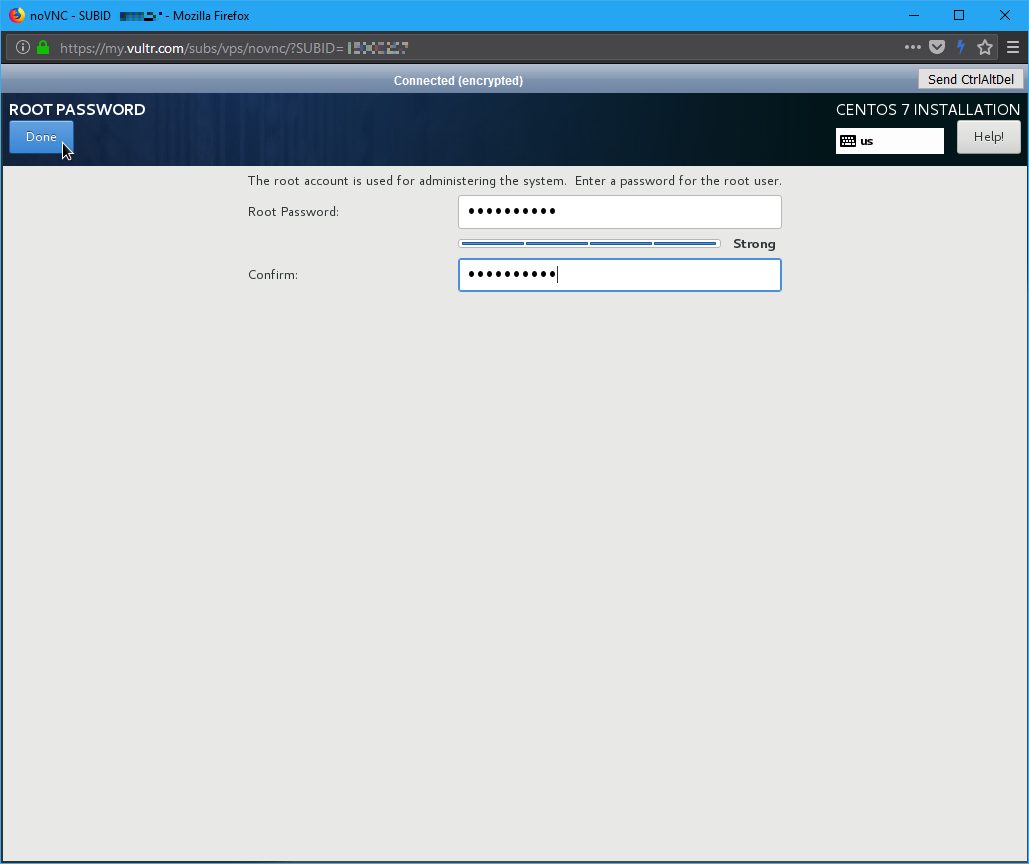
Now seelct Root Password to enter the password for the ruler of all, the sysadmin account of Unix system, named root. Enter a decent password, make sure not to forget it. then click Done.
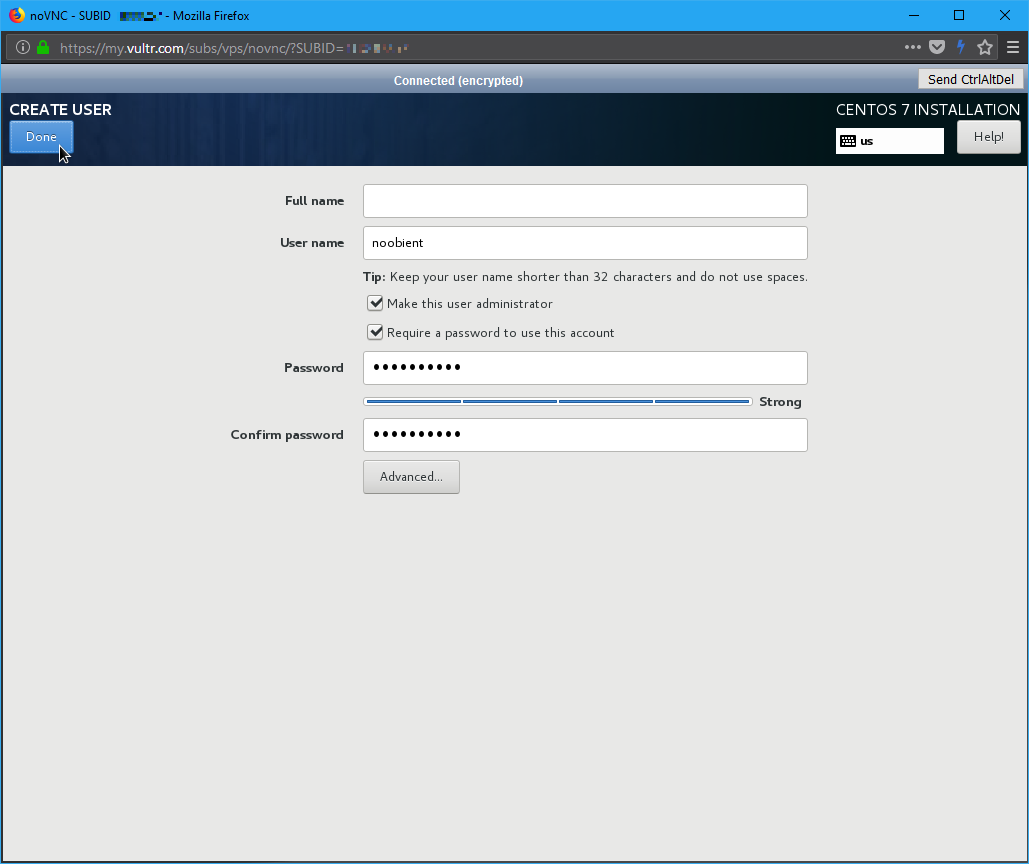
Also create a “regular” admin user. Enter the User name, select Make this user administrator, enter the password twice, then click Done.
Wait until the installer completes all the tasks, then click the Reboot button. Since the custom ISO is still attached, the installer boot menu will come up again in the console. So go to your server settings on Vultr, and find the Custom ISO entry. Click Remove ISO.
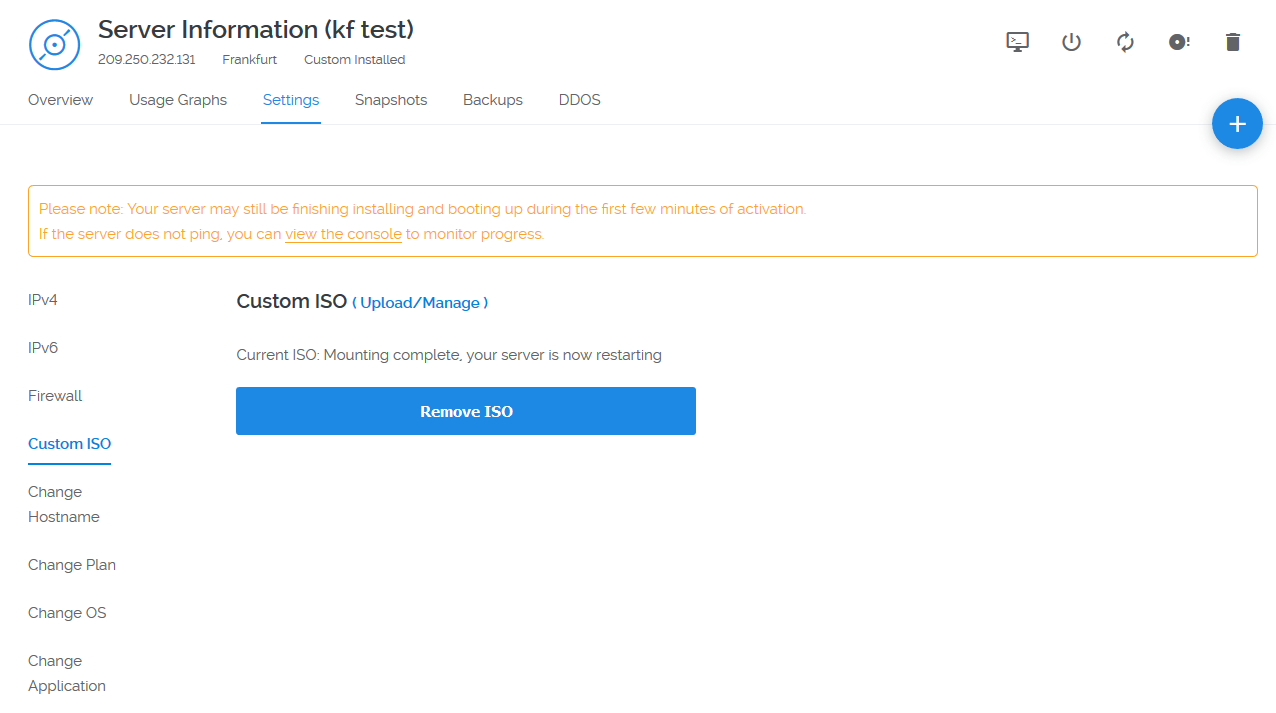
This will cause another reboot, but you’ll also lose your console session (Server disconnected). Close the console, then open it again from Vultr.
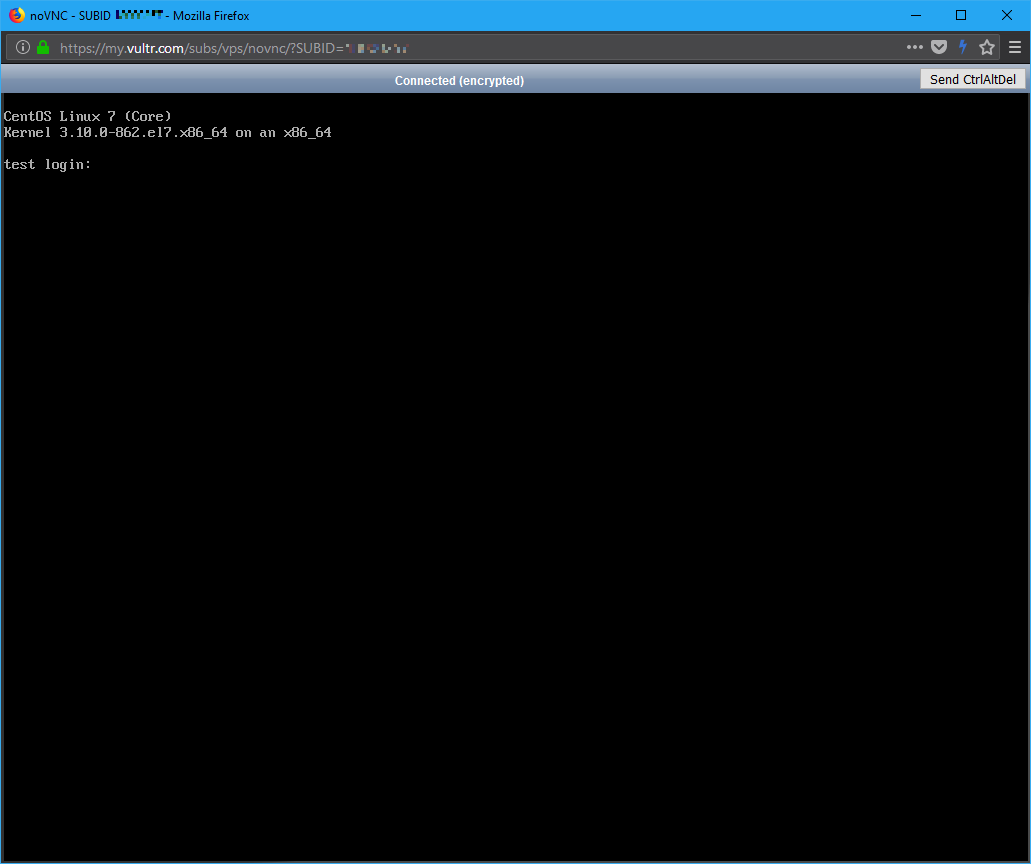
Congratulations! Your server is up and running, and open to hackers, so time to harden it quickly.
Configuration
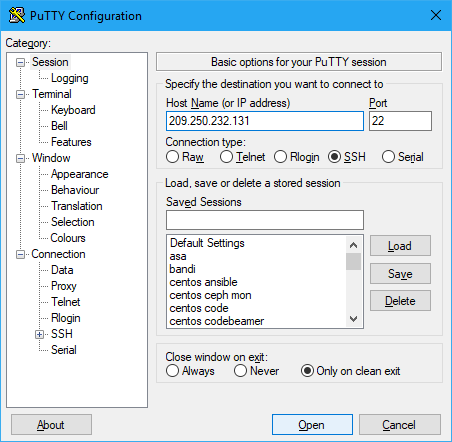
Time to access your fresh new VPS instance. Grab the IP address of your instance, enter this IP in PuTTY under Host Name (or IP address), and click Open.
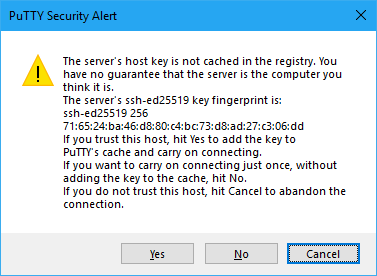
You’ll get a warning because this is the very first time you connect to this host. Just click Yes.
Now you should finish the generic CentOS 7 Post-Installation Best Practices tutorial, and you should be good to go!