Table of Contents
BIG FAT WARNING
This tutorial is deprecated. Please use the revised guide. This one is only here for historical reference.
Prelude
This article will guide you through setting up a proper KF2 server on Linux (CentOS) step-by-step. What we’re going to do here is:
- fire up a CentOS server with firewall, Security-Enhanced Linux and hardened management access
- buy a domain name
- install
steamcmdon the CentOS server - install the KF2 server using
steamcmd - make the KF2 server start and restart automatically using
systemd - configure KF2 options via very small config files instead of the enormous stock ones (almost 2 thousand lines)
- using these, regenerate the server’s actual config files automatically
- obtain a free SSL certificate
- set up secure HTTPS login to your KF2 webadmin using SSL
- subscribe to Steam Workshop maps
- automatically generate separate map cycles for stock and workshop maps
- apply any manually specified, custom map cycles as well
Custom maps are particularly problematic, because there are several problems pretty much noone will tell you. I learned them the hard way, but I feel the average KF2 player has no chance finding these out.
- Custom maps can sometimes be downloaded directly from the KF2 server without any 3rd party service involved, but most of the time, cannot. I’m yet to find a pattern, for now, I’ll just say it’s broken.
- To mitigate this, you can redirect map downloads to a separate web server, but KF2 will attempt to connect via HTTP even if you explicitly specify HTTPS. And it won’t tell you HTTPS will not work.
- Even though a lot of tutorials say you should totally compress your maps, the thing is, map compression is not supported in KF2, so don’t waste your time trying to compress them. Tripwire essentially outsourced the problem, because the Steam client downloads content in a compressed form from the Steam servers.
- There’s a random set of custom maps that just won’t work on the official KF2 server. You just have to be lucky enough to try loading a good map first, otherwise you may conclude your server config is broken, even though it’s the map being broken. It usually boils down to a mismatch between the map’s internal ID (metadata) and its filename.
- You can use Steam Workshop instead of a redirect server, but in this case, every map is stored twice (workshop and cache folders), eating up disk space.
- You have to maintain 2 separate config files continuously with the list of workshop maps, which is totally redundant and unnecessary.
- Workshop maps also occasionally display a “version mismatch” error, even after you empty the caches both server- and client-side. I’m yet to find a cure for this.
So I guess that’s why you see very few servers with custom maps. It takes an unreasonable amount of work. Documentation on this is scarce, and often wrong, so a lot of server admins give up and it’s up to all the players to download custom maps or subscribe via Workshop. Otherwise all they get is this wonderful error message:
Connection Lost. Downloading package ‘mapname’ failed: Error opening file.
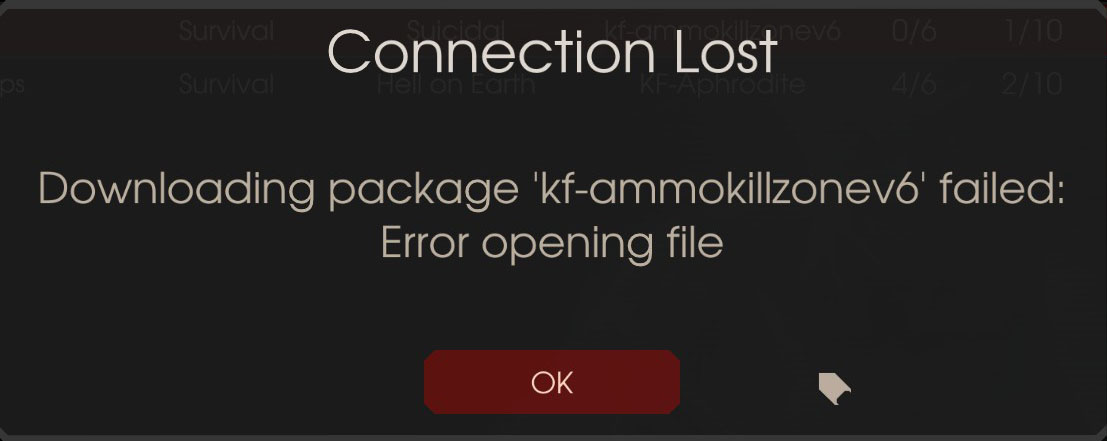
This kind of approach makes no sense to me, but the good news is, the server we’re going to set up here will handle all this perfectly. Without further ado, let’s do this!
Linode
I’ll use the terms VPS (=virtual private server), VM (=virtual machine) and server interchangeably here. It’s all the same. Also, CentOS is just a flavor (distribution) of Linux. It is a free variant of Red Hat Enterprise Linux, one of the most trusted Linux vendors out there.
To get your Linux server up and running, you need to complete the Linode CentOS tutorial, then you can move on to the next step.
The smallest Linode 1G instance should be enough for a basic server.
Storage
The bottleneck will be storage eventually, because:
- the KF2 server is huge (I blame Tripwire devs who think it’s normal to package 10G+ garbage with a server engine)
- the KF2 maps are huge
- they can’t be compressed
- the KF2 server stores each of them twice for no good reason
If you can, you really need to have a separate partion for KF2 which is formatted to Btrfs, because:
- it supports data compression
- it supports data deduplication
Migrating your /home to Btrfs isn’t that difficult, and it’s quite rewarding, too:
# compsize /home
Processed 4126 files, 224846 regular extents (224847 refs), 1750 inline.
Type       Perc     Disk Usage   Uncompressed Referenced
Data        41%       12G          28G          28G
none       100%      3.3G         3.3G         3.2G
zlib        34%      8.7G          25G          25G
Yup, 28G data stored on 12G disk space.
Namecheap
Domain name
To have proper SSL access to your KF2 webadmin you need a proper domain name instead of just an IP address. Don’t worry though, it’s really not that expensive to own one. Check out this nice list of the cheapest TLDs (though it doesn’t seem to be 100% accurate). I recommend and describe Namecheap here as I’ve been a satisfied customer of them for years. As you can see, .win is one of the cheapest options out there, and it’s pretty darn cool to have a KF2 server with such a TLD anyway, so I’m gonna stick with that.
Head over to Namecheap (or whatever your domain registrar of choice is) and look up your desired domain name. In this example I’ll use noobient.win. It’s available for half a buck. Be warned though, this is only the 1st year’s price. Make sure to check out the price for 2 years, where you’ll see the renewal price as well. In my case, it’d be almost 20 bucks. So what can you do? I recommend using a domain name for just one year for this ridiculously low price, then switching to a different one. The cool thing about Namecheap is that they offer free WhoisGuard for the 1st year as well: this means folks cannot query your contact details as they could without such an anonimity service. Even after the stupid obligatory ICANN fee it’s just 66 cents:
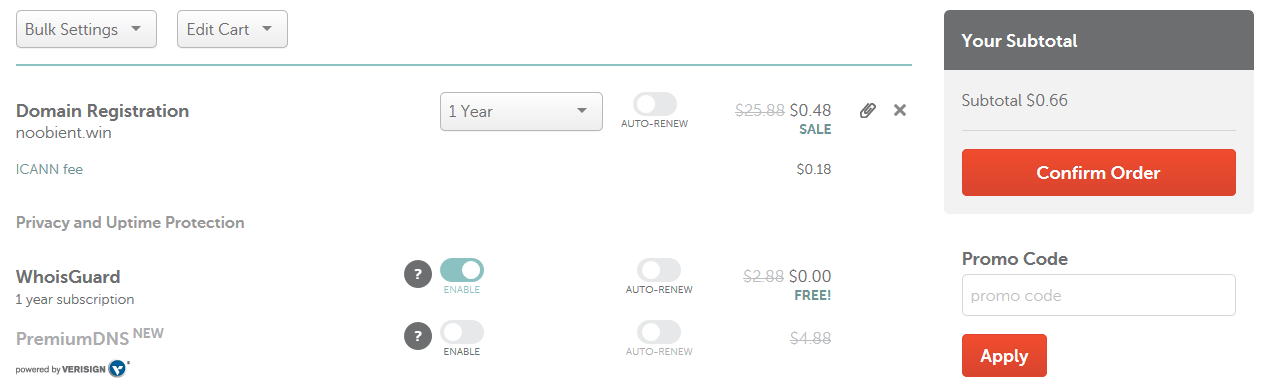
Purchase the domain, then proceed.
DNS Records
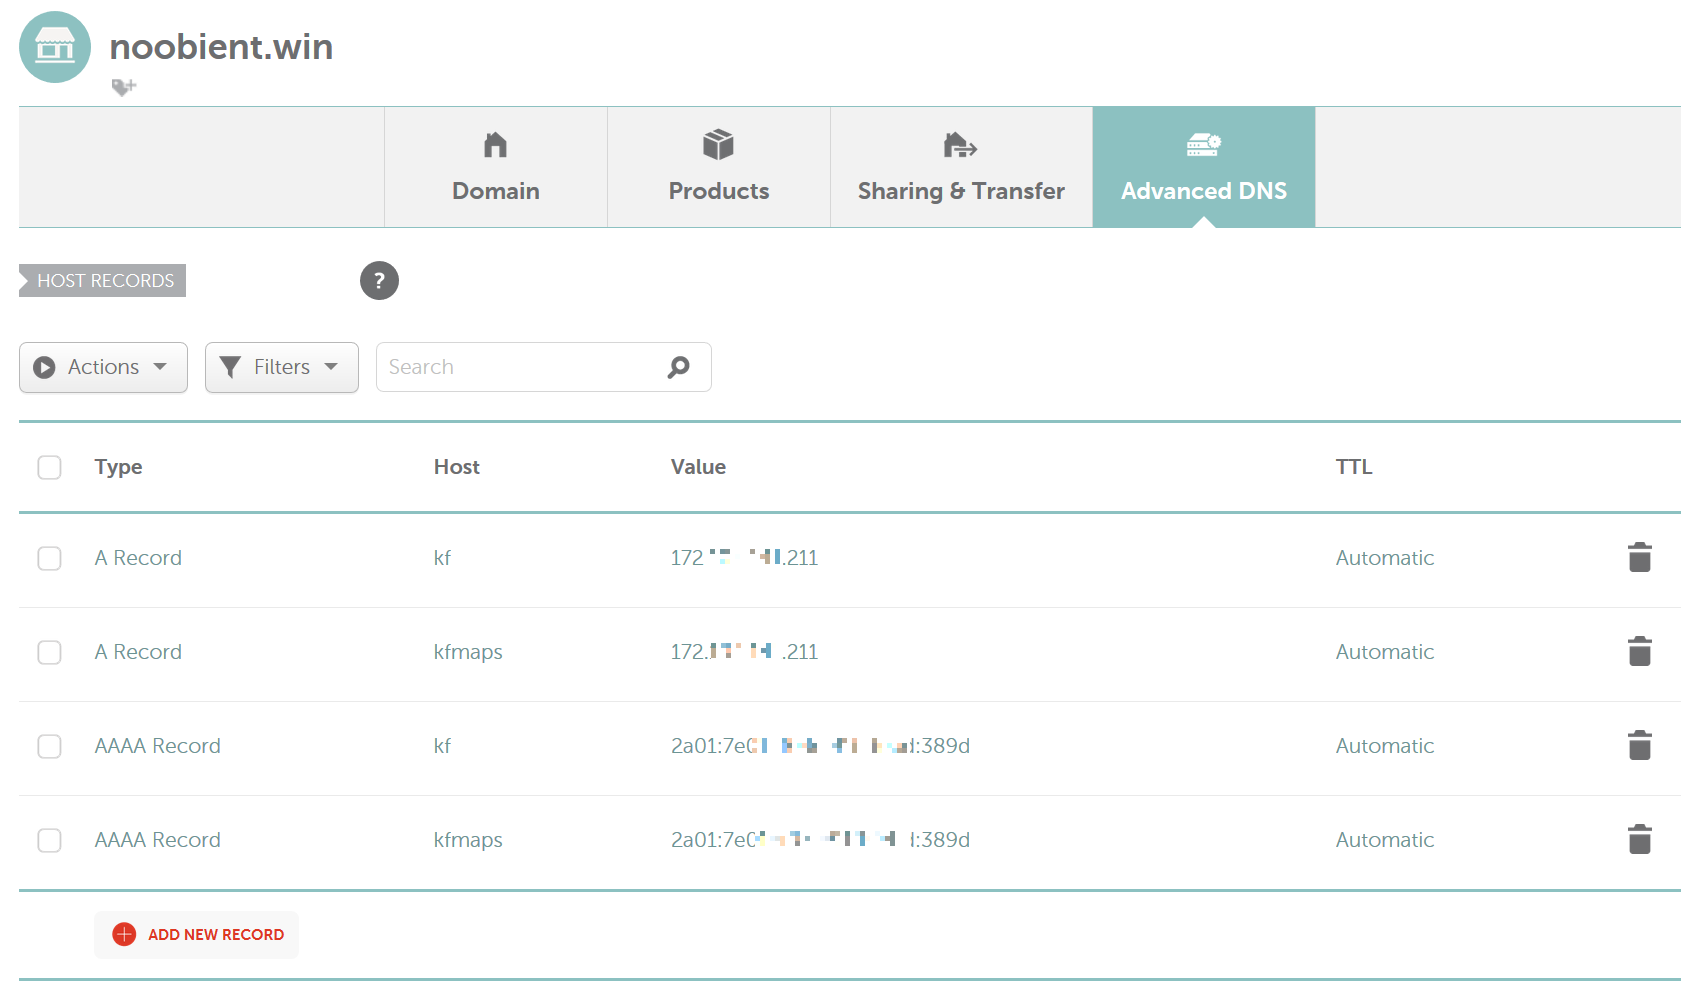
Now that you have a domain name, you need to create DNS records for it. I’ll use the kf address in this tutorial, i.e. kf.noobient.win, the address of the KF2 game server and webadmin, secured by HTTPS to protect your credentials.
Open the Namecheap dashboard, find your domain, click Manage, then select the Advanced DNS tab. Find your server’s IPv4 and IPv6 addresses in the Linode Manager, then create A (IPv4) and AAAA (IPv6) records for the kf subdomain in Namecheap Advanced DNS with the Add new record button.
Note: for the AAAA record, omit the /64 part at the end of the IPv6 address.
You’ll prolly have a CNAME record and an A record which are responsible for showing that wonderful placeholder page when you open your domain name in the web browser. We don’t need either, so you can delete those.
After all this, your records should look something like this (ignore the kfmaps records, you don’t need them anymore):
API Access
Now you need API access for HTTPS to work, so navigate to Profile / Tools / Namecheap API Access and request access which will be needed to obtain SSL certificates for your domain. The page says it might take up to 2 days, but I think asking about it on live chat will speed things up. Once you’re approved, you need to whitelist IPs which can access the Namecheap API with the key provided. Add your Linode server’s IPv4 address here.
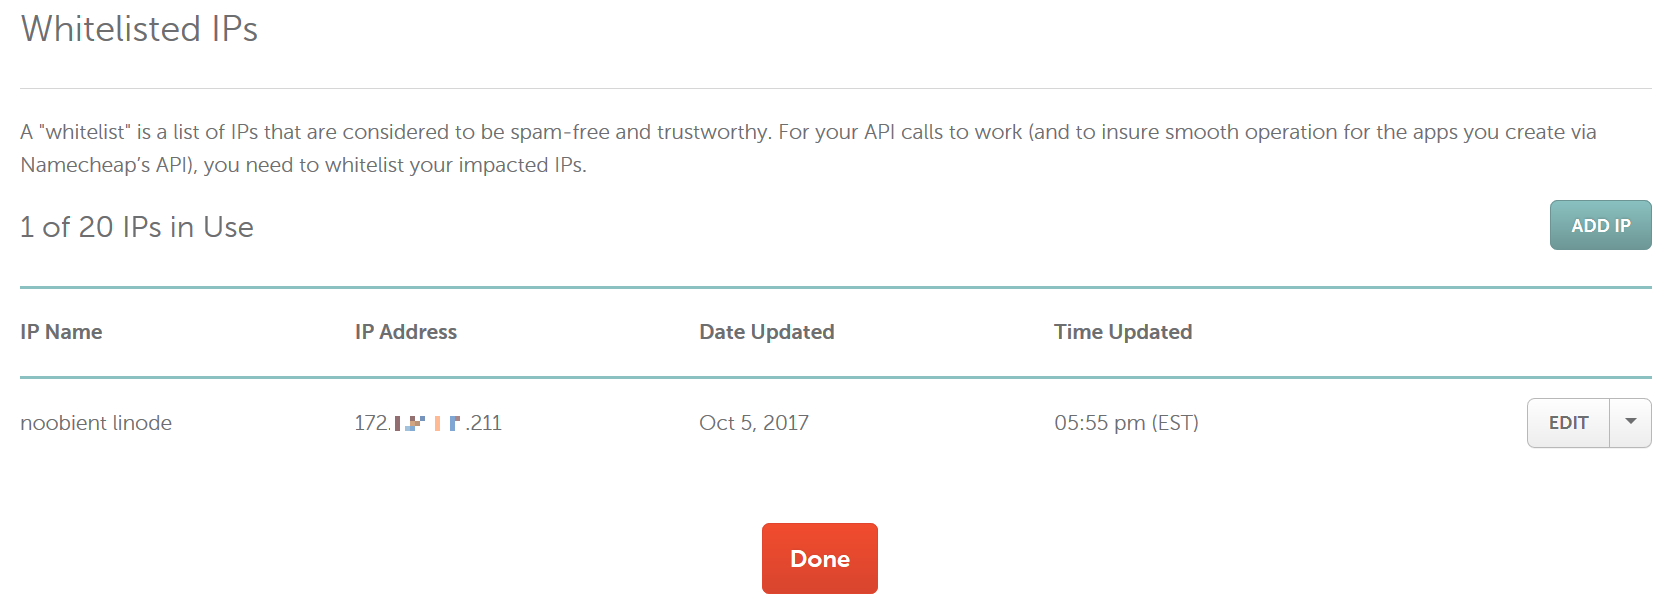
Take note of the API key, we’ll need it later. Time to get serious on CentOS, enough of these web settings!
Killing Floor 2
Installation
There’s a whole lot of components needing installation and/or configuration for the KF2 server to work properly, but I thought I’d save you some (okay, a lot of) time by creating a script that does all that for ya.
For the curious, let me summarize what it does:
- creates a new dedicated
steamuser to deal with anything Steam-related, because it’s stupid to run things as administrator - obtains
steamcmd, Valve’s official command-line tool for managing Steam-related content - installs the KF2 server itself
- creates a systemd unit to conveniently control the KF2 server via system tools
- sets up access delegation so that you can actually control these things with the
steamuser - allows the necessary ports to pass the firewall
- deploys a helper command to make management very simple and easy
- deploys initial configuration which you can build upon very quickly
Now, to perform all this, log in to your Linode server with your normal user. Obtain a copy of the installer I created, then execute it with root privileges:
git clone https://github.com/bviktor/kf2-centos.git
cd kf2-centos
sudo ./install.sh
The Killing Floor 2 server is around 16 GB in size so sit back and relax until it finishes, then proceed. If everything went well, switch to the steam user:
sudo -iu steamFor the initial config files to be generated, you need to start the KF2 server first. Also follow the log output while we’re at it:
kf2.sh start && kf2.sh logYou’ll get a horde of messages, then it’ll settle within a few seconds, Now press Ctrl + C to stop displaying the log, then stop the KF2 server altogether:
kf2.sh stop
To summarize:
| Command | Description |
|---|---|
kf2.sh start | start KF2 |
kf2.sh stop | stop KF2 |
kf2.sh restart | restart KF2 |
kf2.sh status | query the status of KF2 |
kf2.sh update | check for and apply KF2 updates |
kf2.sh log | display the logs |
kf2.sh config | regenerate KF2 server config from your settings |
Configuration
The KF2 server has a bunch of settings that need to be changed before it’s ready for prime time. You have 2 sets of config files:
- ~/Config: Your own config files, you need to edit these.
- ~/Config/Internal: The server’s files generated from your own config files. You should not touch these.
| File | Description |
|---|---|
My-KFWeb.ini | Webadmin |
My-LinuxServer-KFEngine.ini | Starting map, takeover, redirect server URL (unused) |
My-LinuxServer-KFGame.ini | Admin password and game related (difficulty, length, etc.) |
My-Cycles.csv | Map cycles |
My-Maps.csv | Workshop maps |
After you make an edit on these files, you stop the server, regenerate the server config, then start the server, and you’re ready to go. Same thing applies when you install an update for KF2.
Important notes:
- Make sure that after the initial installation you always perform everything Steam and KF2-related as the
steamuser, at all times. If you’re unsure, run thewhoamicommand. - You can edit the config files while the server is running, but you need to stop the server before regenerating. If you don’t stop the server, your changes may fully or partially be overwritten.
- Make sure you update KF2 regularly.
Now, still as steam, make the following changes:
- My-KFWeb.ini:
bEnabled=true - My-LinuxServer-KFGame.ini:
AdminPassword=your very long generated password here
After these set, stop the server, regenerate the config, then start the KF2 server again:
kf2.sh stop
kf2.sh config
kf2.sh start
To test things out, temporarily enable port 8080, where KF2’s webadmin runs:
firewall-cmd --add-port=8080/tcpThen navigate your web browser to your domain name’s kf subdomain on port 8080, so the URL in my case is http://kf.noobient.win:8080. You should see this:
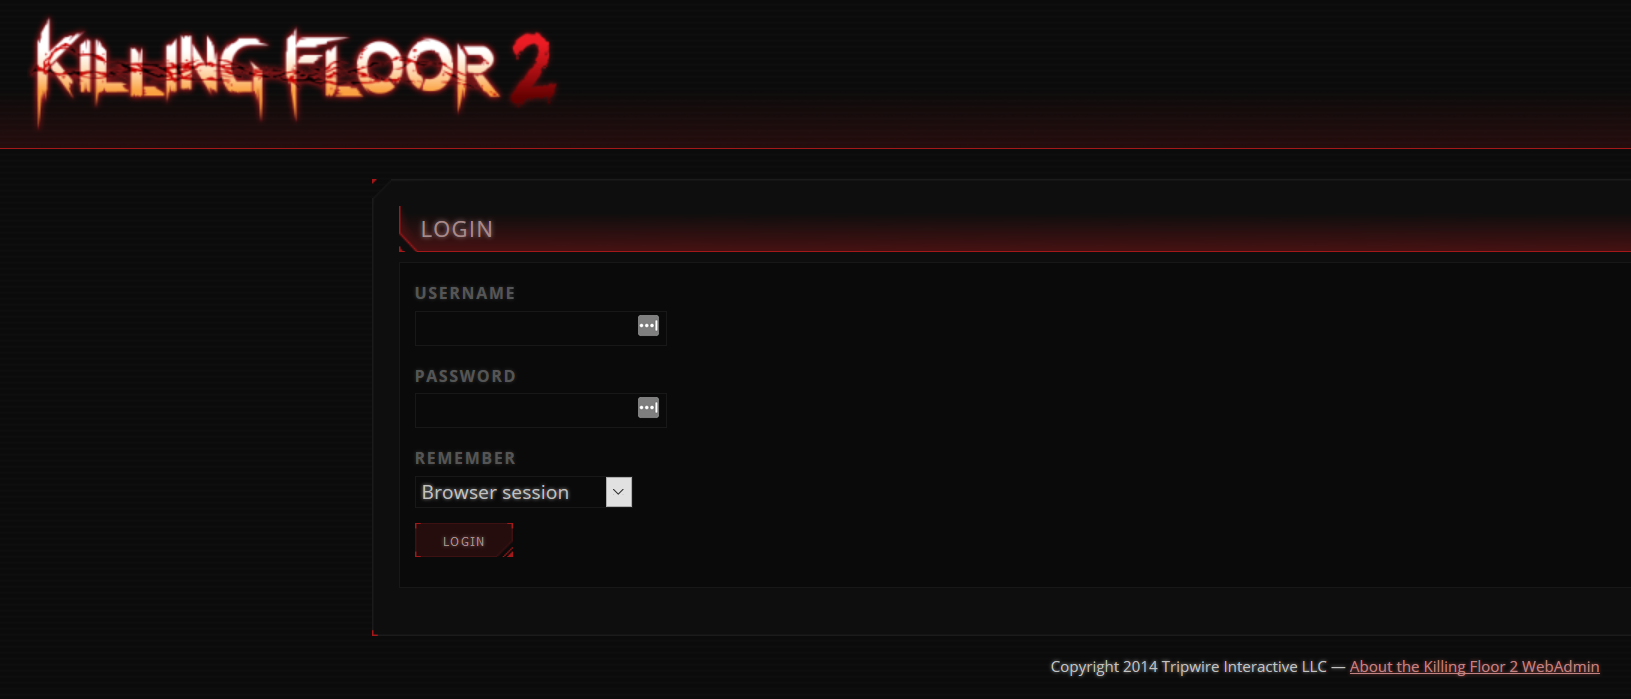
Don’t try to log in yet, just check if the page loads at all. Once working fine, disable the temporary port:
firewall-cmd --reloadTime to set up web access properly!
Web Access
SSL Certificate
Unlike with KF2, you need to perform the SSL steps as root, so exit from the steam user session, then acquire root privileges sudo -i.
Obtain a copy of dehydrated which is a Let’s Encrypt client. Let’s Encrypt in turn is a certificate authority that issues free SSL certificates.
git clone https://github.com/lukas2511/dehydrated.git /opt/dehydrated
/opt/dehydrated/dehydrated --register --accept-terms
echo 'CA="https://acme-staging.api.letsencrypt.org/directory"' >> /opt/dehydrated/config
/opt/dehydrated/dehydrated --register --accept-terms
Now add your web address to /opt/dehydrated/domains.txt. In my example it’s kf.noobient.win.
echo 'kf.noobient.win' > /opt/dehydrated/domains.txtWe also need a plug that acts as a middleman between the generic dehydrated client and Namecheap’s specific API:
git clone https://github.com/wdouglascampbell/dehydrated_namecheap_dns_api_hook.git /opt/dehydrated/hookEdit /opt/dehydrated/hook/config:
apiusr=your_namecheap_username
apikey=your_namecheap_api_key
Now attempt to acquire an SSL certificate:
/opt/dehydrated/dehydrated --cron --hook /opt/dehydrated/hook/namecheap_dns_api_hook.sh --challenge dns-01You should see something like this:
[root@li1419-124 dehydrated]# /opt/dehydrated/dehydrated --cron --hook /opt/dehydrated/hook/namecheap_dns_api_hook.sh --challenge dns-01
# INFO: Using main config file /opt/dehydrated/config
Processing kf.noobient.win
 + Signing domains...
 + Generating private key...
 + Generating signing request...
 + Requesting challenge for kf.noobient.win...
 + DNS not propagated. Waiting 15s for record creation and replication... Total time elapsed has been 0 seconds.
 + DNS not propagated. Waiting 15s for record creation and replication... Total time elapsed has been 15 seconds.
 + DNS not propagated. Waiting 15s for record creation and replication... Total time elapsed has been 30 seconds.
 + DNS not propagated. Waiting 15s for record creation and replication... Total time elapsed has been 45 seconds.
 + DNS not propagated. Waiting 15s for record creation and replication... Total time elapsed has been 60 seconds.
 + DNS not propagated. Waiting 15s for record creation and replication... Total time elapsed has been 75 seconds.
 + DNS not propagated. Waiting 15s for record creation and replication... Total time elapsed has been 90 seconds.
 + Responding to challenge for kf.noobient.win...
 + Challenge is valid!
 + Requesting certificate...
 + Checking certificate...
 + Done!
 + Creating fullchain.pem...
 + Walking chain...
Deploying certificate for kf.noobient.win...
 + certificate copied
 + key copied
 + intermediate certificate chain copied
 + combine certificate and intermediate certificate chain
 + Reloading Services
 + Done!
Congratulations, you just obtained your first fake SSL certificate! Now make it actually usable, edit /opt/dehydrated/config and comment out the CA line to look like this:
#CA="https://acme-staging.api.letsencrypt.org/directory"Now perform the command again. It won’t work though, because even though your certificate is just a fake one, it’s validity is longer than 30 days.
+ Valid till Jan 4 14:43:55 2018 GMT (Longer than 30 days). Skipping renew!Don’t let dehydrated talk back like that, force it now:
/opt/dehydrated/dehydrated --cron --hook /opt/dehydrated/hook/namecheap_dns_api_hook.sh --challenge dns-01 --forceIf no error message is present, make sure the certificate is renewed every month:
echo '00 07 1 * * root /opt/dehydrated/dehydrated "--cron" "--hook" "/opt/dehydrated/hook/namecheap_dns_api_hook.sh" "--challenge" "dns-01" "--force" >> /var/log/dehydrated.log 2>&1' > /etc/cron.d/dehydrated
systemctl restart crond.service
Then proceed and install the nginx web server.
Nginx
Like the SSL steps, perform these as root, too.
Get my handy helper scripts to install Nginx easily:
git clone https://github.com/bviktor/nginx-centos.git /root/nginx-centos
cd /root/nginx-centos
./install.sh
It’s going to take quite a while to generate the random DH parameters file (up to an hour, even), so feel free to get some other things to do until it’s completed. Once that’s finally over, you’ll be asked for a bunch of stuff. Naturally, as always, substitute your address here:
Hostname (FQDN): kf.noobient.win
Server method (php, static, upstream): upstream
Finally, you should be presented with this:
nginx: configuration file /etc/nginx/nginx.conf test is successfulNow start nginx. The very first time it will probably complain about some PID files first, but restart it and it should be fine from then:
systemctl start nginx.service
systemctl status nginx.service
systemctl restart nginx.service
KF2 Webadmin
You’ll use webadmin to change the gaming session, like selecting the current map, or switching the current map cycle, or the game length, etc.
If you read carefully, you’ll already know this, but permanent settings (e.g. ServerName) should not be changed via webadmin, because they’ll be overwritten the next time you run kf2.sh config. So make sure you don’t change permanent settings here, but via the config files under ~/Config. If in doubt, make the change via webadmin, then find the related server setting in the files under ~/Config/Internal, then copy the relevant part to your My- files under ~/Config, and regenerate.
To start webadmin, exit from root and switch to steam with sudo -iu steam. Start the server:
kf2.sh startNow open your webadmin with the proper https://kf.noobient.win/ address.
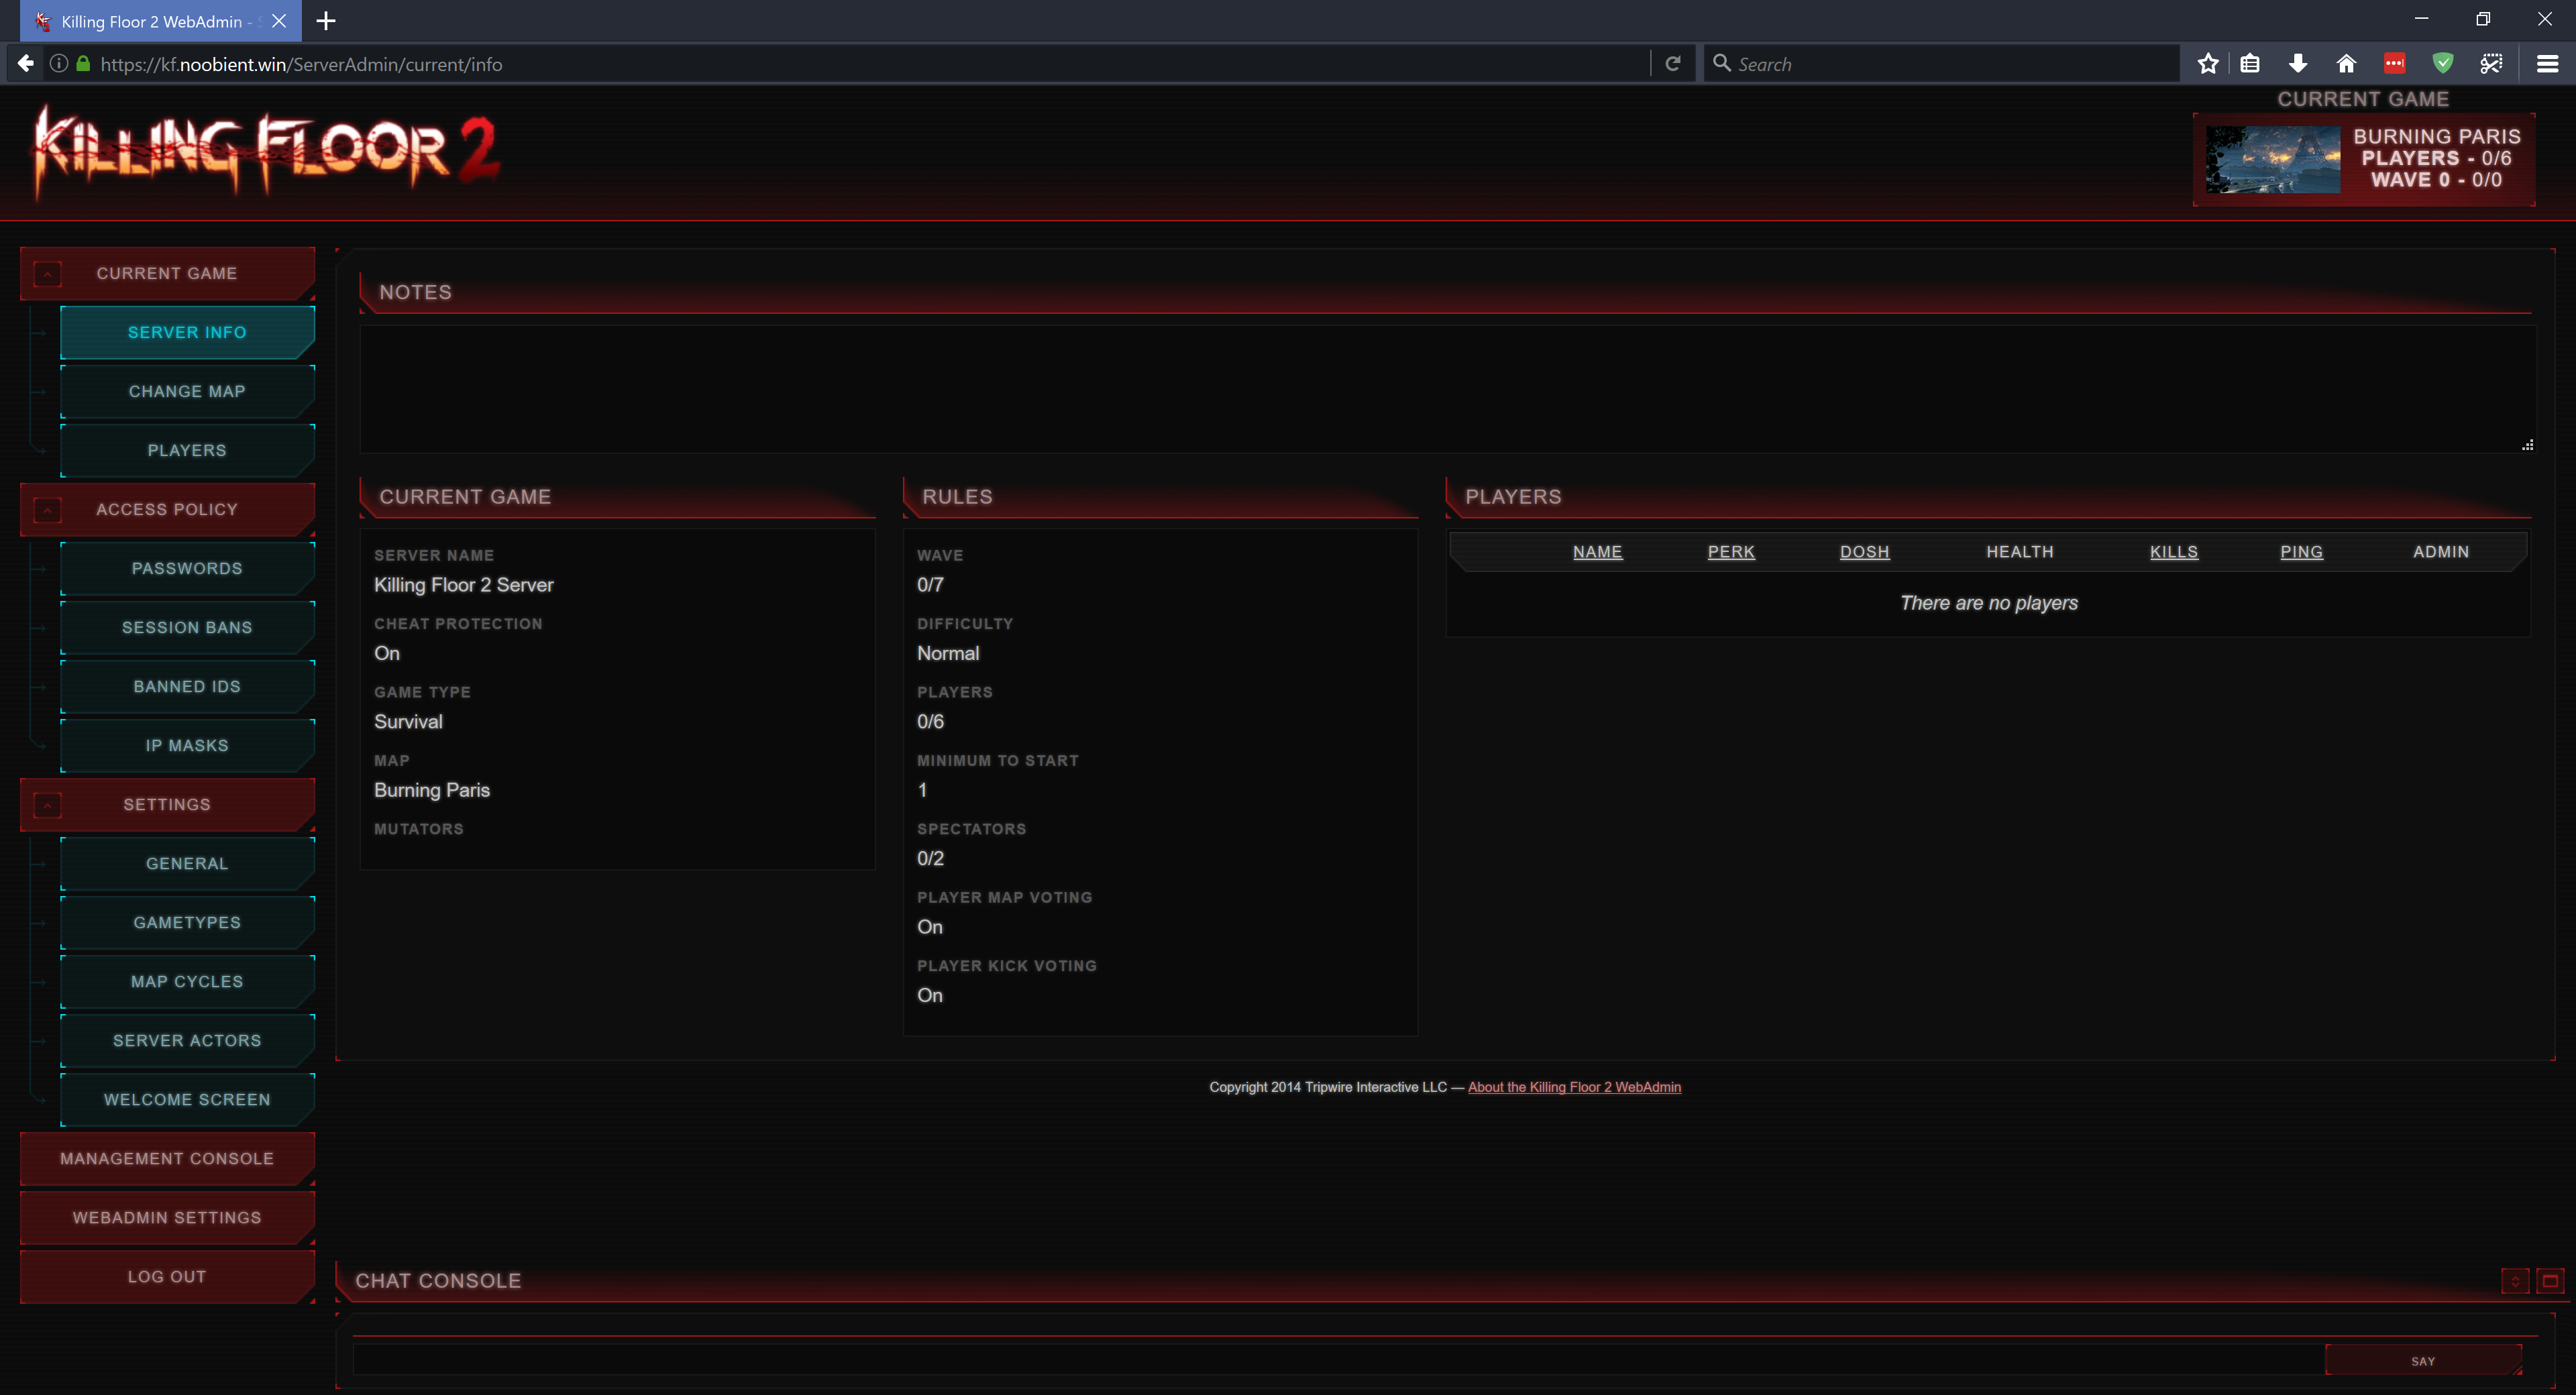
Pretty cool! A few notes:
- The webadmin restarts occasionally, particularly during map changes, be it initiated by the admin or by finishing a match. During this period, you may see “502 Bad Gateway” messages (meaning your nginx frontend server can’t reach its upstream, the KF2 webadmin, because it’s restarting), but it should come back live within a minute or so.
- In the rare event of a webadmin crash, it won’t come back live. In this case, you can still play games on the server though. You decide if you wait until the next match for webadmin to restart on its own, or you can restart the KF2 server altogether manually with
kf2.sh restart.
Now let’s walk you through the most important options:
- Current game / Change map: use this to switch between maps. Make sure to click on the Change game button on the bottom! As mentioned earlier, this triggers a web admin restart, so be patient.
- Access Policy / Passwords / Game password: here you can set a game password so that you can play privately with your teammates.
- Settings / General / Game: change Game difficulty and Game length here. Note: after changing these, you also need to perform a Change map action for these to take effect.
- Settings / Map cycles: select the active map cycle here (Make active button). Don’t edit map cycles here, use
My-Cycles.csvfor that.
Connecting
Now you may wonder, how the hell will I play on this server? You have 2 options.
If you wanna quickly test it out, you can press F3 from the main menu of the game, then enter
open kf.noobient.winBut in the long run you probably want to add the server to your favorites. You can’t do that from within KF2, that’d be too logical I guess. Open the Steam application instead. Navigate to View / Servers / Favorites, click Add a server. Specify your address, in my case it’s kf.noobient.win. Click Find games at this address…, then it should display it as being a KF2 server. Click Add selected game server to fav…:
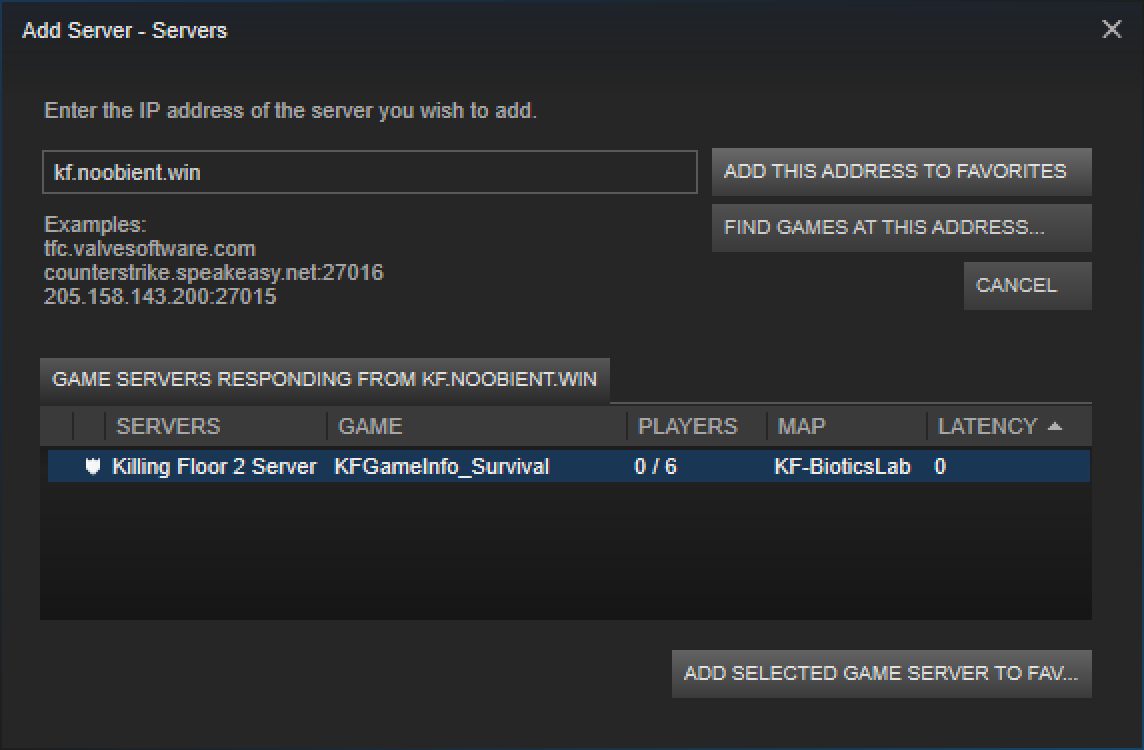
Then you can access this server via Browse Servers / Favorites in KF2.
Workshop Maps
We’ll use KF-Minecraft_Defense_Day as an example. You need 2 things:
- ID
- Name
The ID can be found in the Workshop page URL, after the ?id= part. In this example, it’s 1098009749.
The name is a bit tricky, because often it’s the same as on the Workshop page. But sometimes it isn’t. The easiest way to find it out is by subscribing to the map, then checking out the downloaded file’s name. You can find them under %ProgramFiles(x86)\%Steam\steamapps\workshop\content\232090. In this case, if you go to %ProgramFiles(x86)%\Steam\steamapps\workshop\content\232090\1098009749\BrewedPC, you’ll see the filename: KF-Minecraft_Defense_Day_Fixed.kfm. So the actual name you need is KF-Minecraft_Defense_Day_Fixed.
Now all you need to do is add the following line to ~/Config/My-Maps.csv:
1098009749,KF-Minecraft_Defense_Day_FixedThen stop, regenerate the config, and start. The server will soon start to download the maps you added (you can observe it with kf2.sh log), so it’s going to take a few minutes if you added several big maps. Once all downloads finish, the server restarts automatically once more, then you’re ready to go.
Once started up, open webadmin and open the Change game menu, select KF-Minecraft_Defense_Day, then click the Change game button on the bottom. This actually restarts the webadmin, but after a minute or so the KF2 server should be running on your shiny new map. When players who don’t have the map connect, they should see a screen similar to this:

Then you’re ready to play!
Troubleshooting
Client
In case something gets messed up, like most players can download and play the map but one just can’t, instruct the problematic player to close the game and delete the %HOMEPATH%\Documents\My Games\KillingFloor2\KFGame\Cache folder to make KF2 download the map again.
They can also try to subscribe manually, or if already subscribed, unsubscribe, delete the map file under %ProgramFiles(x86)%\Steam\steamapps\workshop\content\232090\<map id>, then retry.
Server
When you have a broken map, you can try to delete the downloaded files both under ~/Cache and ~/Workshop. Also edit ~/Workshop/appworkshop_232090.acf and remove the problematic map’s all (normally 2) occurences, e.g.
                "1098009749"
                {
                        "manifest"              "1445744842772415422"
                        "size"          "237892268"
                        "timeupdated"           "1501951178"
                }
...
                "1098009749"
                {
                        "manifest"              "1445744842772415422"
                        "timeupdated"           "1501951178"
                        "timetouched"           "1513907326"
                }
Conclusion
Whew, that was quite a mouthful. After all this, you should have:
- a dedicated Killing Floor 2 server running on CentOS Linux
- automatic OS updates
- firewall
- Security-Enhanced Linux
- key-based SSH authentication on a non-default port with root login disabled
- your KF2 server running as a restricted user
- easily accessible commands to control the KF2 service
- your webadmin accessible exclusively via secure HTTPS
- your own redirect server for automatic custom map downloads
All that with a few hours of work. Isn’t that just sweet? Have fun, guys, hope to see you online!